Skytech Gaming: PC Quick Start Guide
SKYTECH GAMING: QUICK START GUIDE
As a new owner of a Skytech Gaming Desktop PC, you’re about to embark on an unparalleled gaming adventure. To help you hit the ground running, we’ve compiled a comprehensive guide to getting our new system up and running. Let’s get started! Para nuestros clientes que hablan español, pueden llamar al (888)370-8882 para obtener asistencia adicional.
|
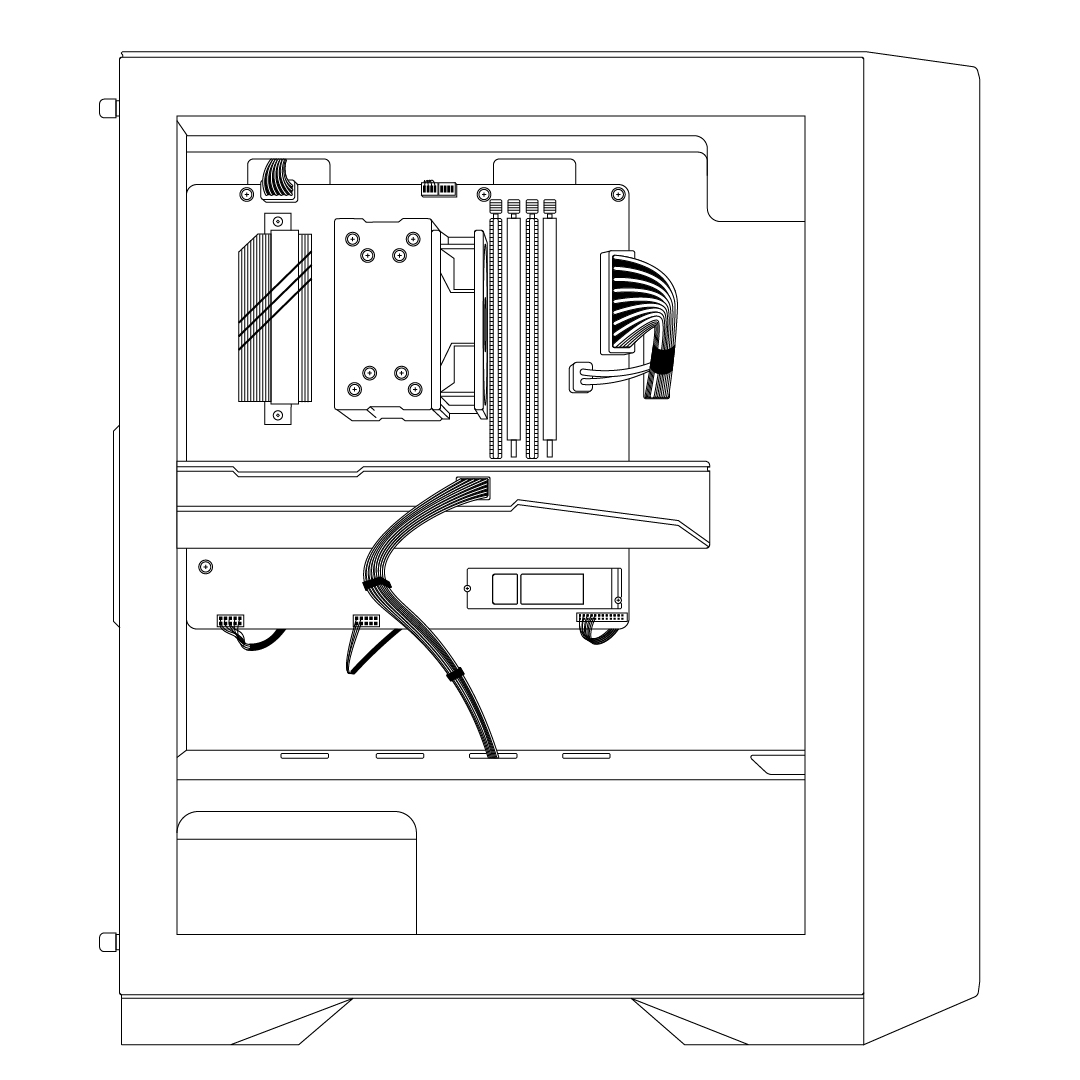
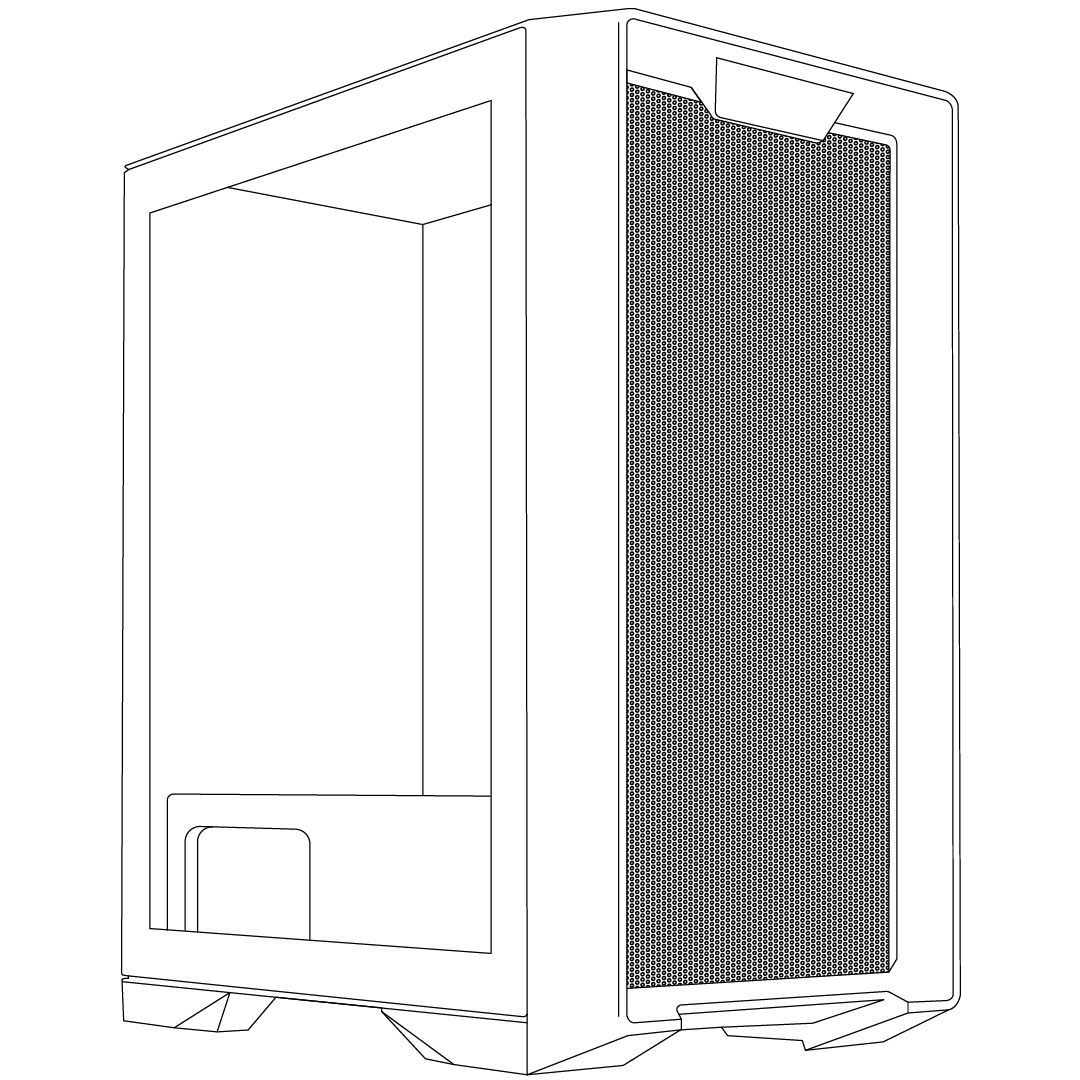
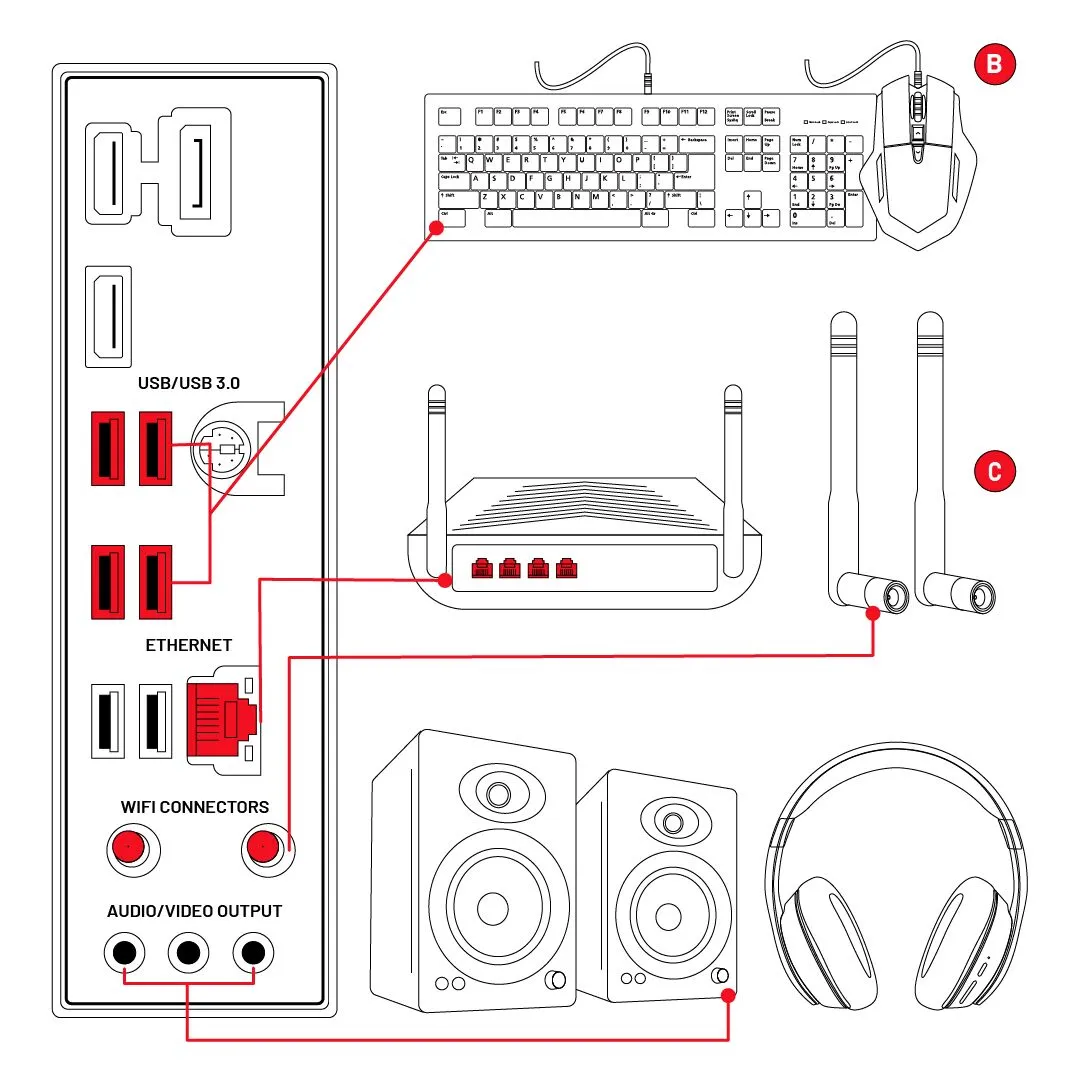
The Anatomy of Your Gaming PC
|
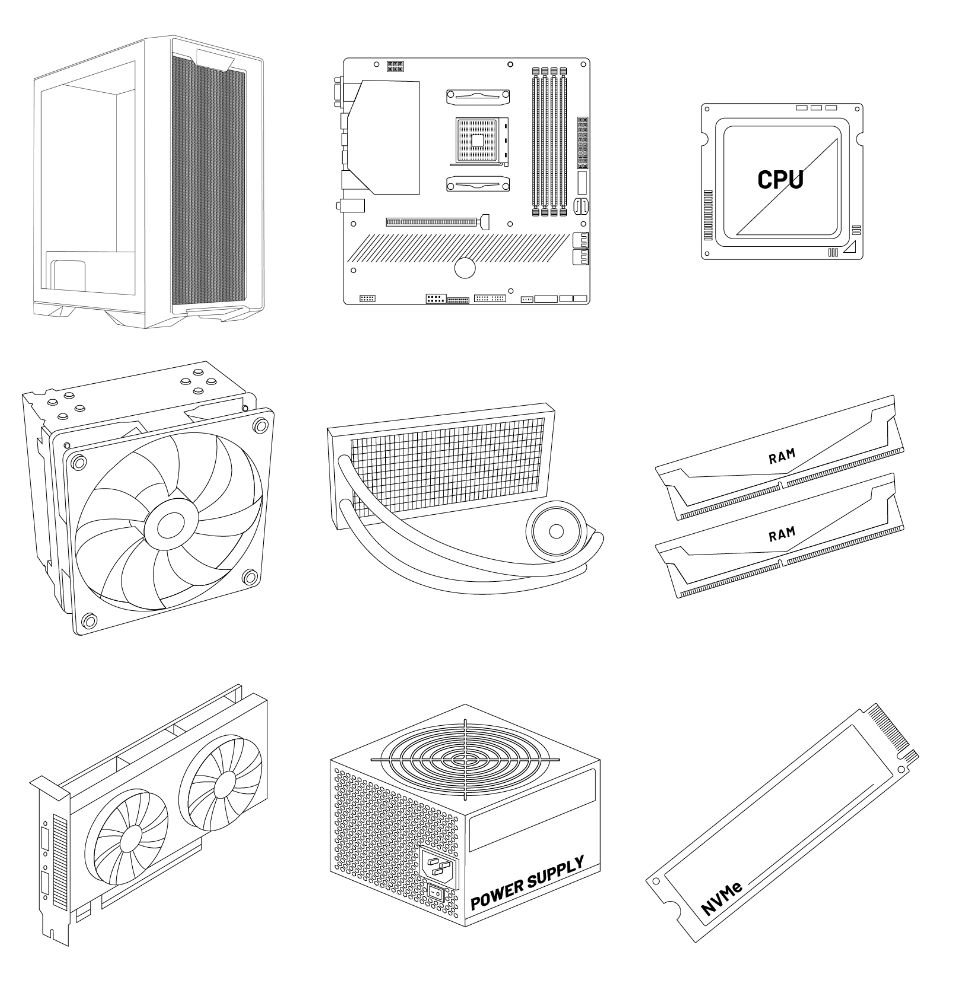 |
| Note: The depicted PC is illustrative. Your actual build may vary in appearance. | Note: Component specifics (e.g., Chassis model, CPU Cooler, SSD Storage type) in your build may differ from examples provided. |
|
Unboxing Your Skytech Gaming Desktop PC
The first step involves carefully unpacking your new gaming system. It’s important to retain all packaging materials for the duration of your warranty to use for possible future warranty claims or shipping needs.
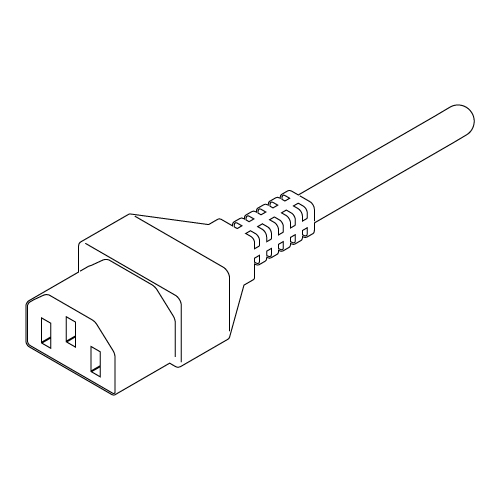
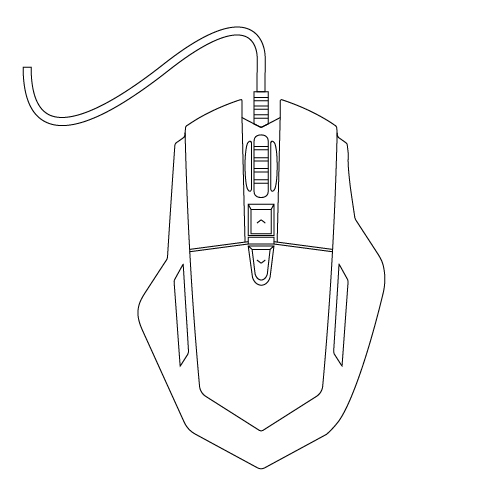
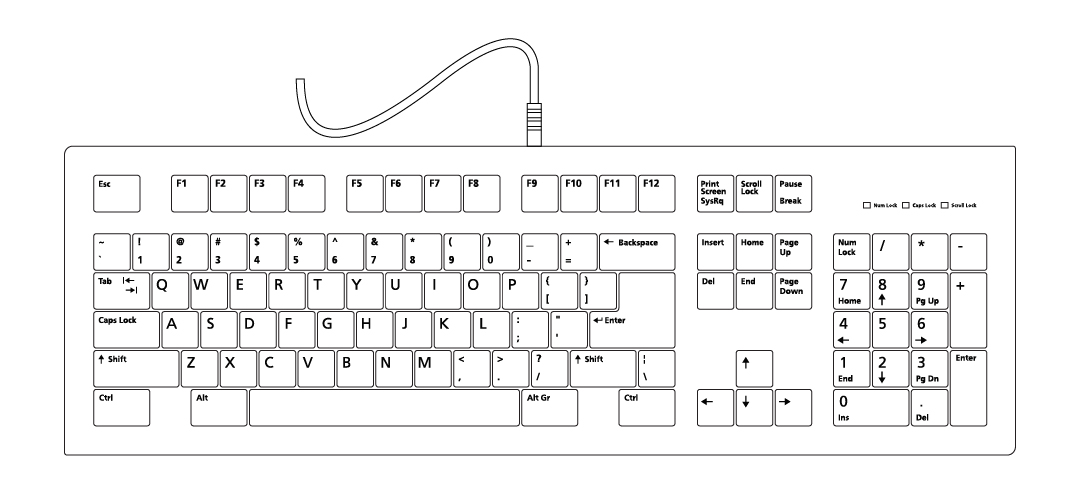
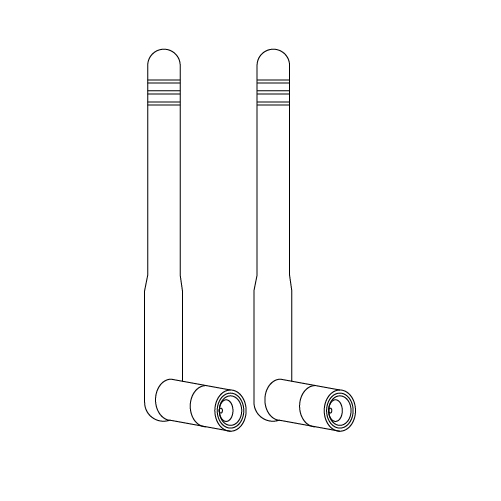
Contents to check for include:
|
||||||||||
|
Inspecting for visible damage is a necessary step to ensure your system arrives in perfect condition. If you notice any issues, Skytech Gaming’s customer support should be contacted immediately.
|
| Preparing Your Workspace | |||||||
|
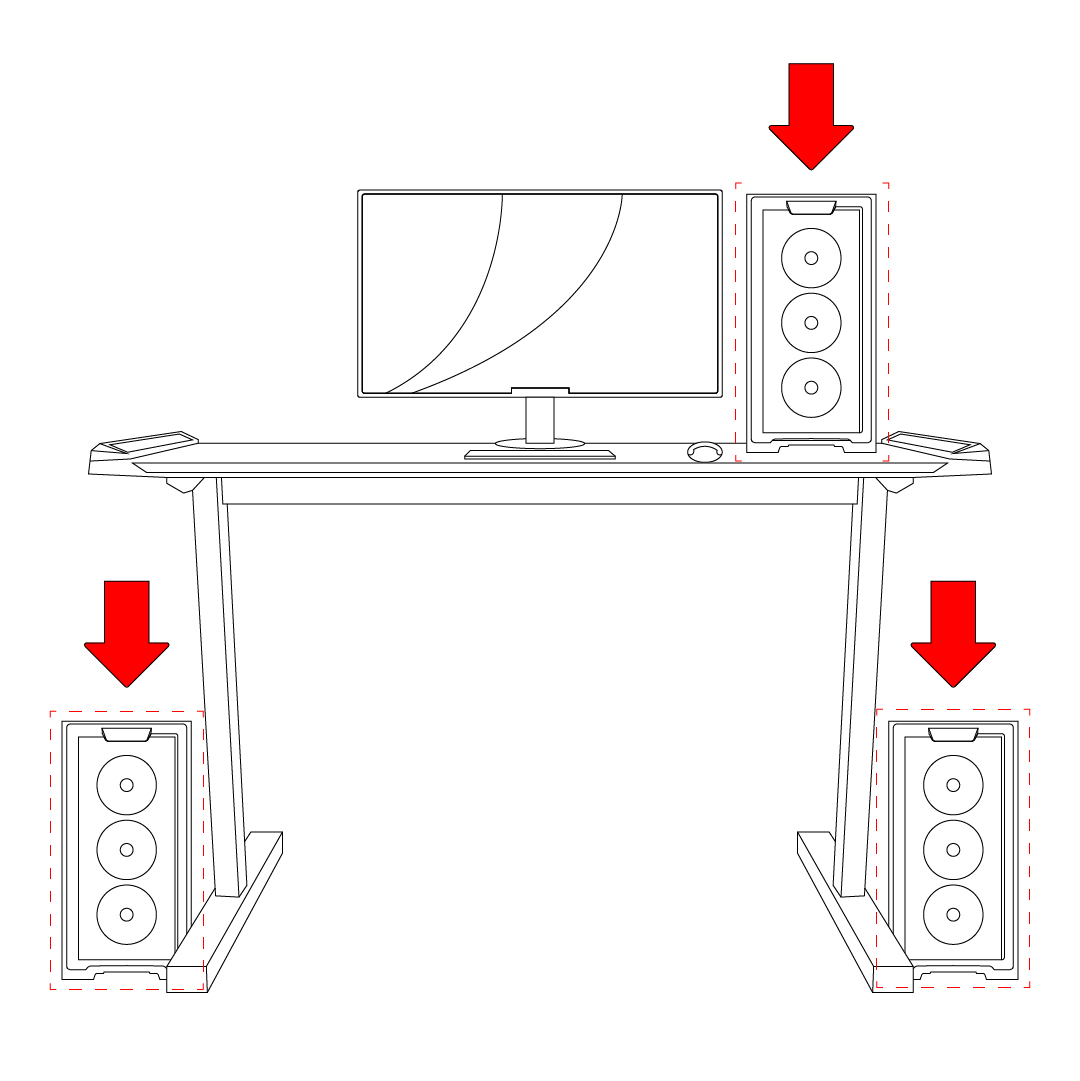
|
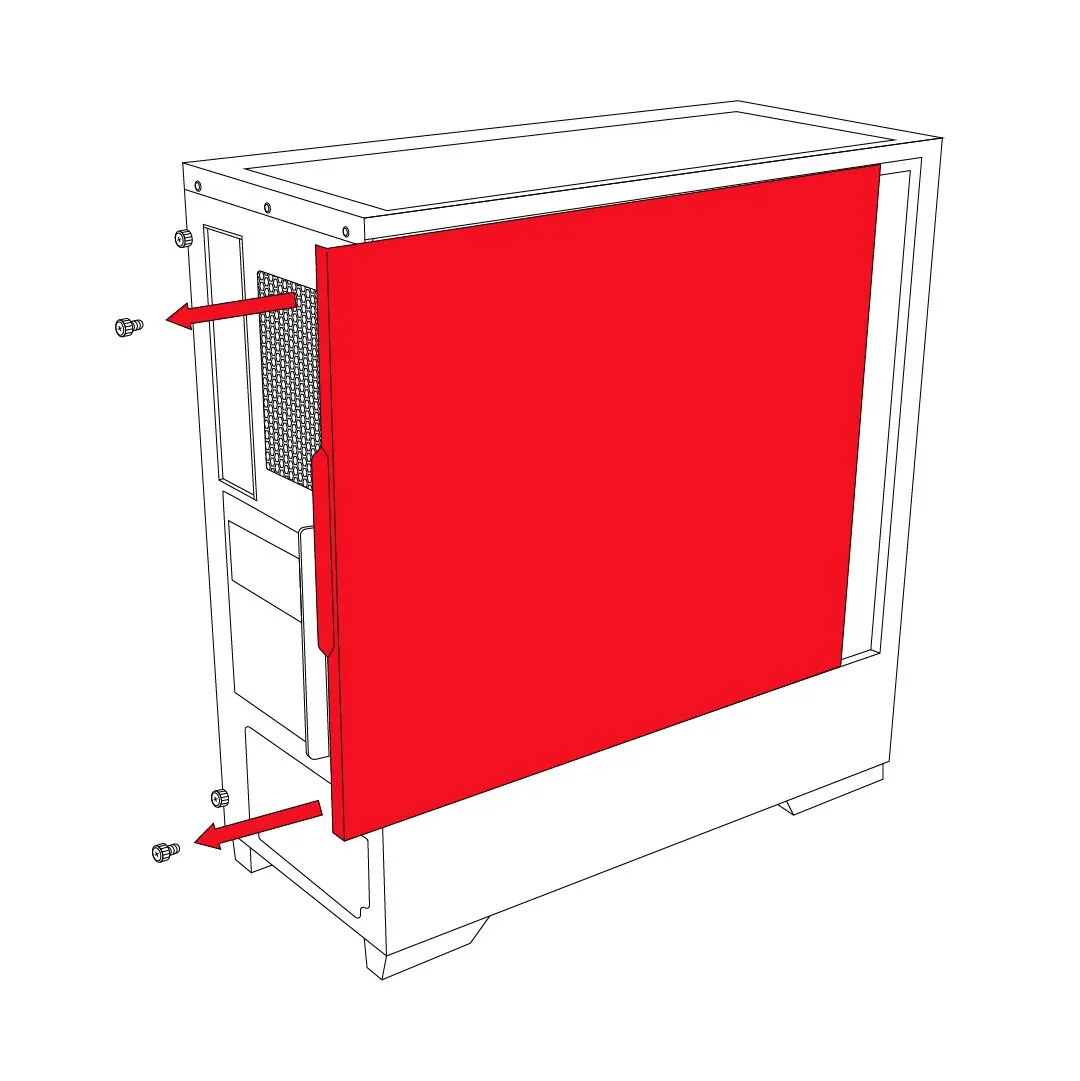
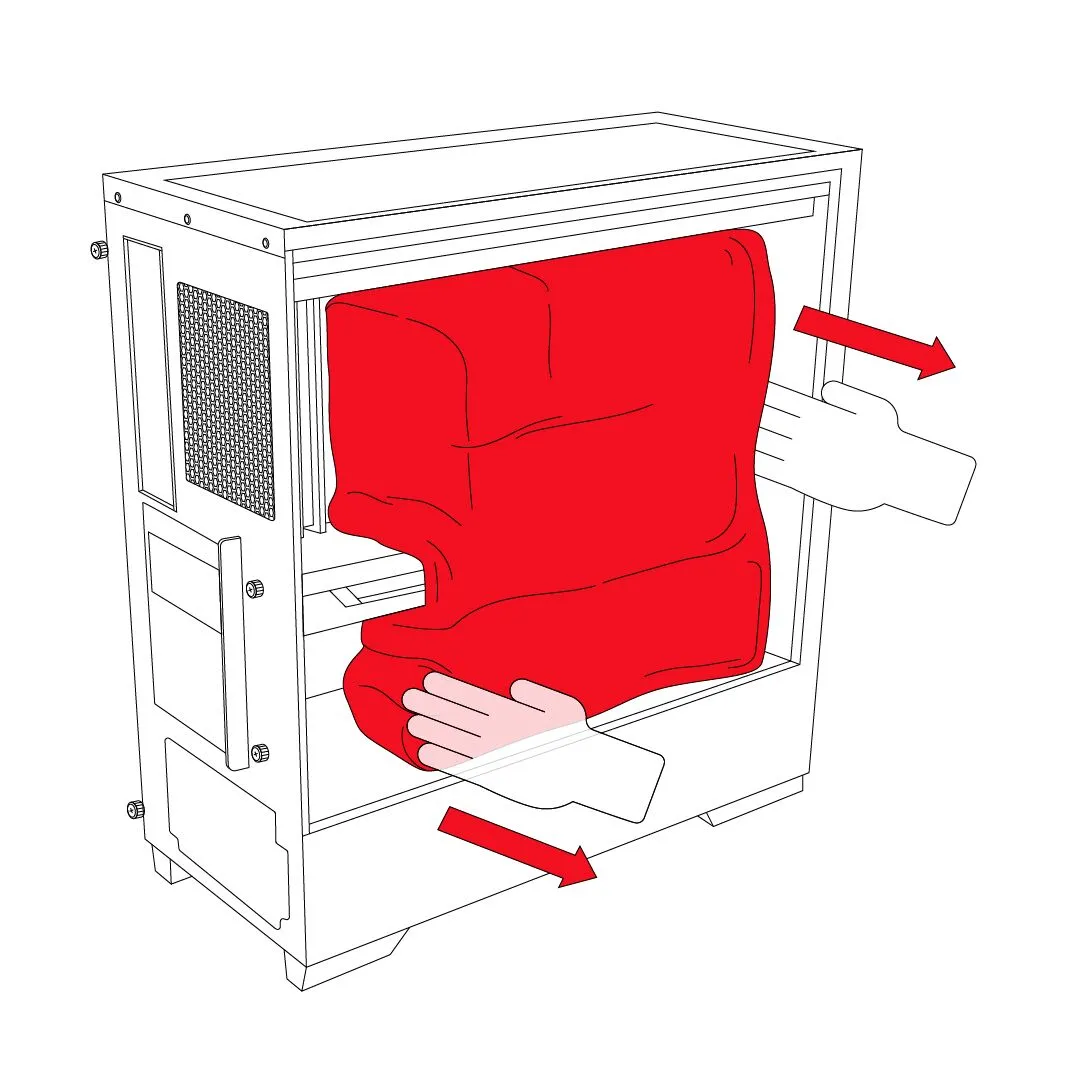
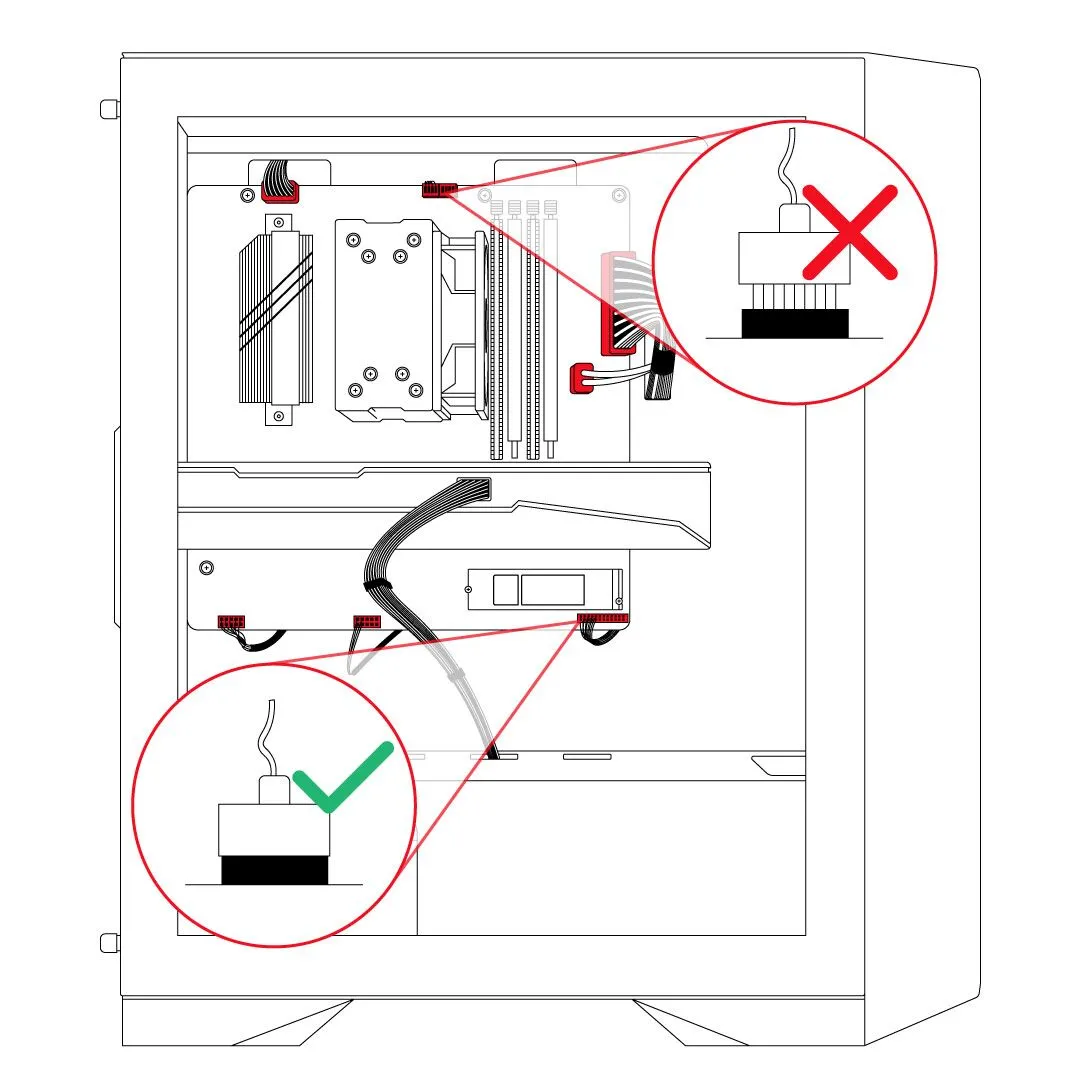
Setting Up Your Skytech Gaming Desktop PC
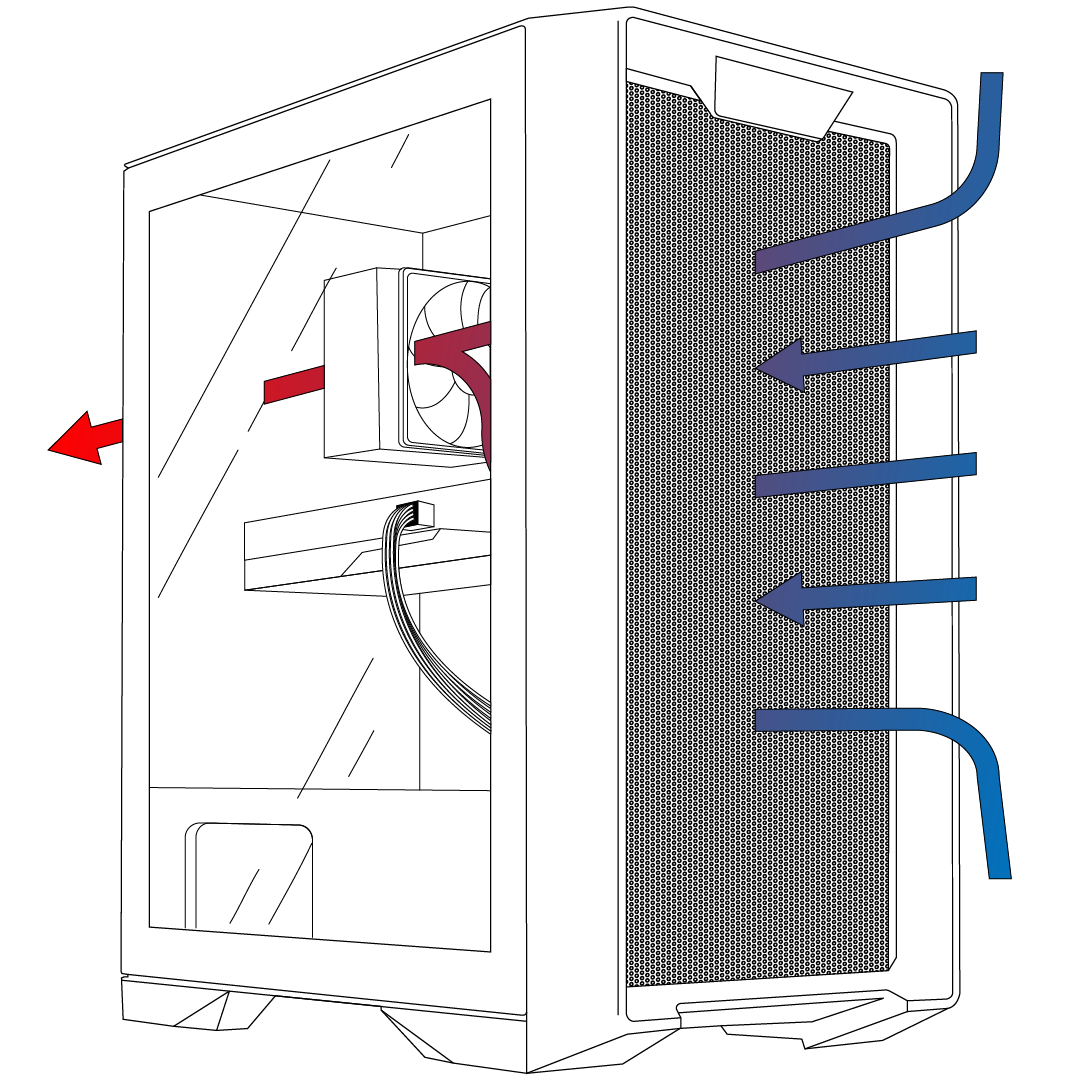
STEP 1. Removing internal packaging foam is crucial to prevent airflow blockages or other issues that could impact the system’s performance.
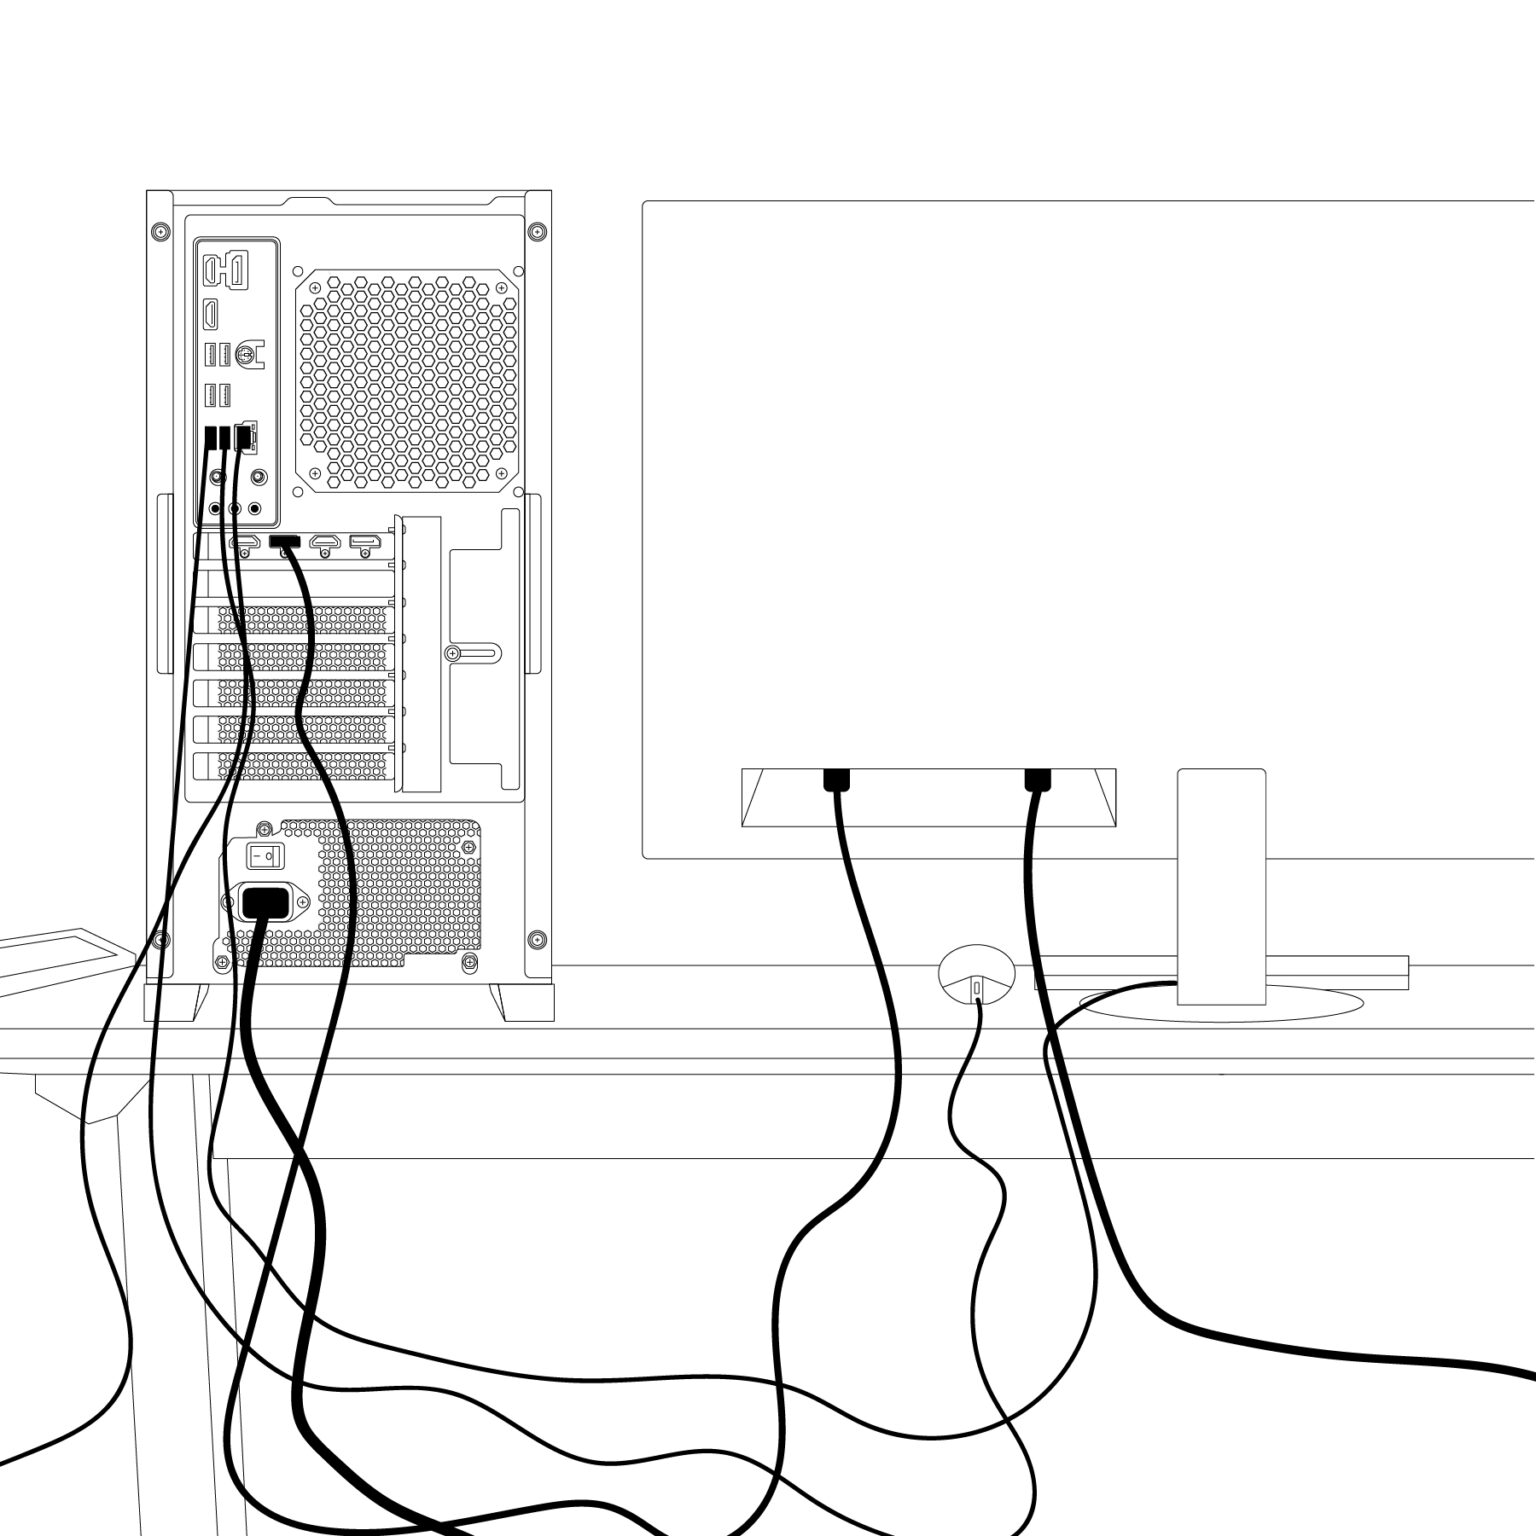
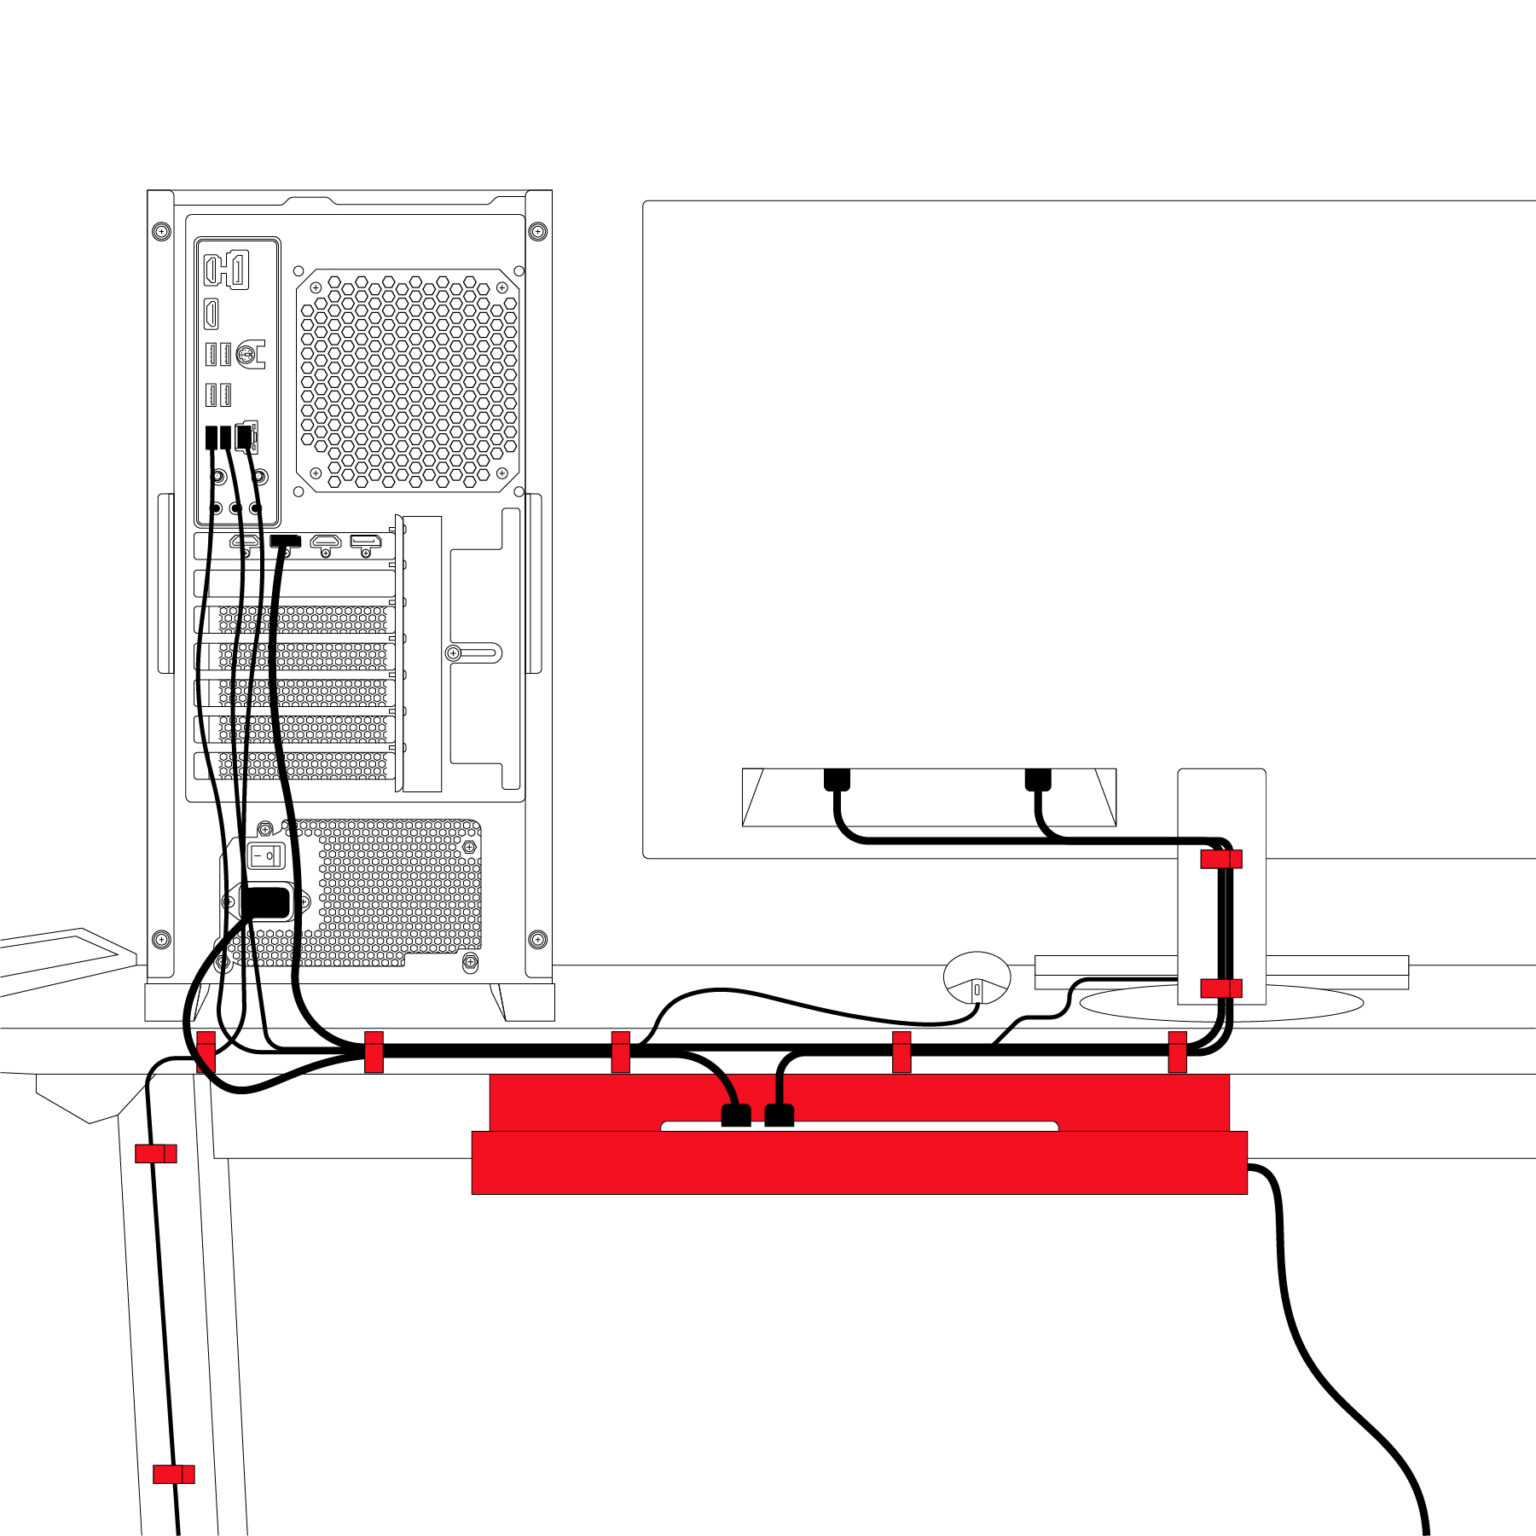
|
|
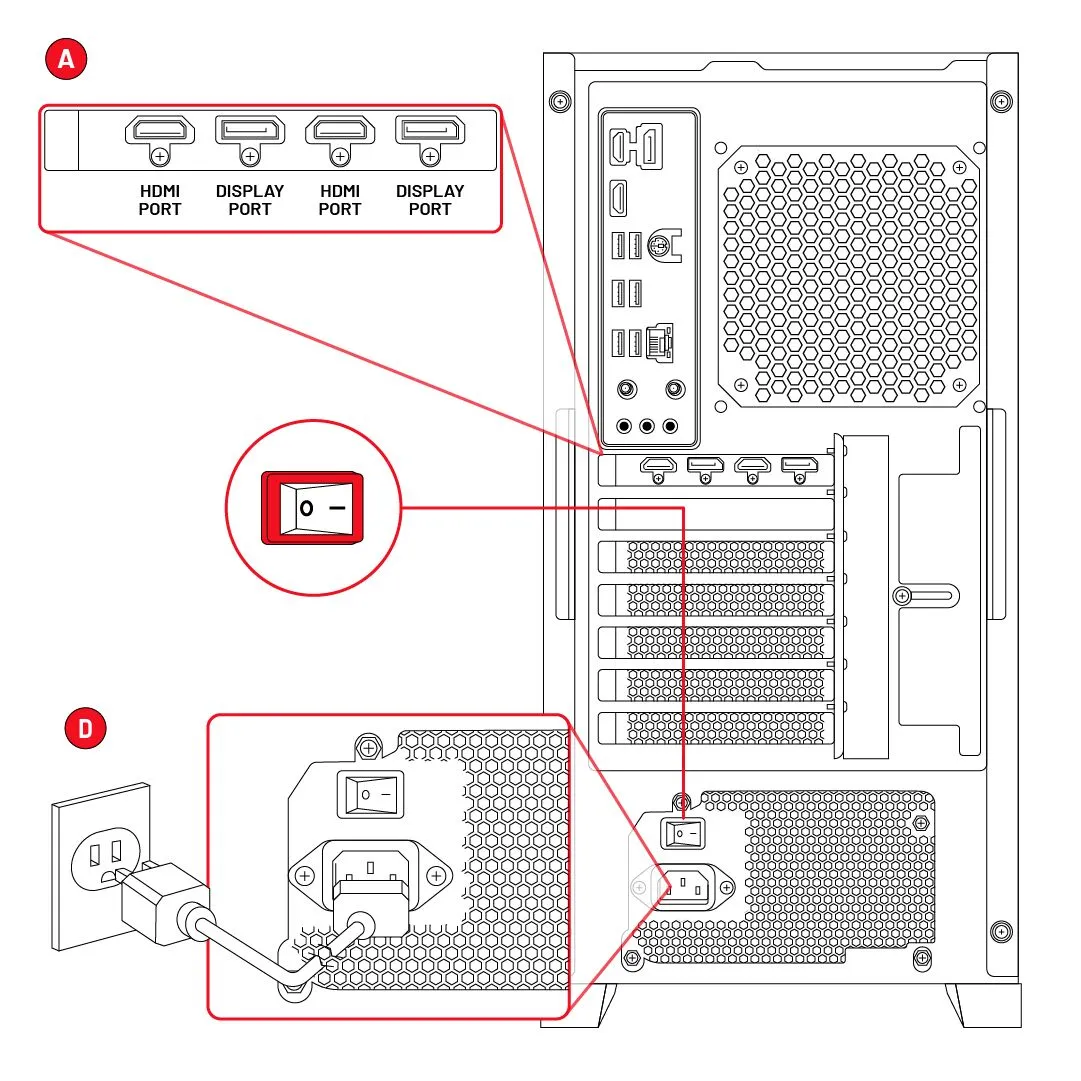
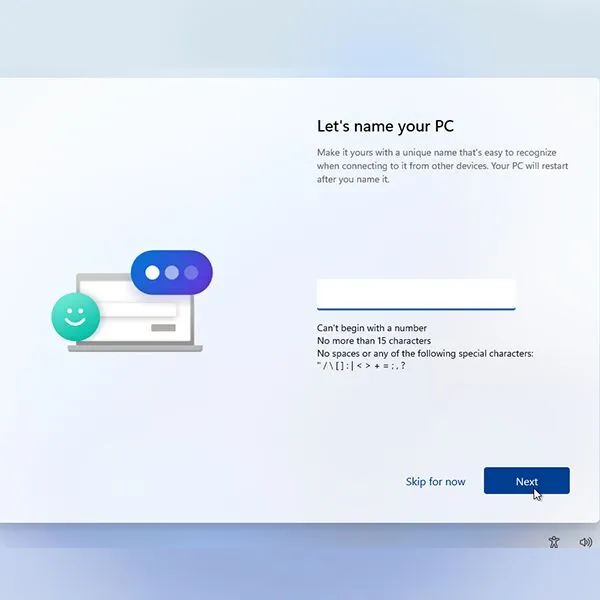
Initial Boot and Setup
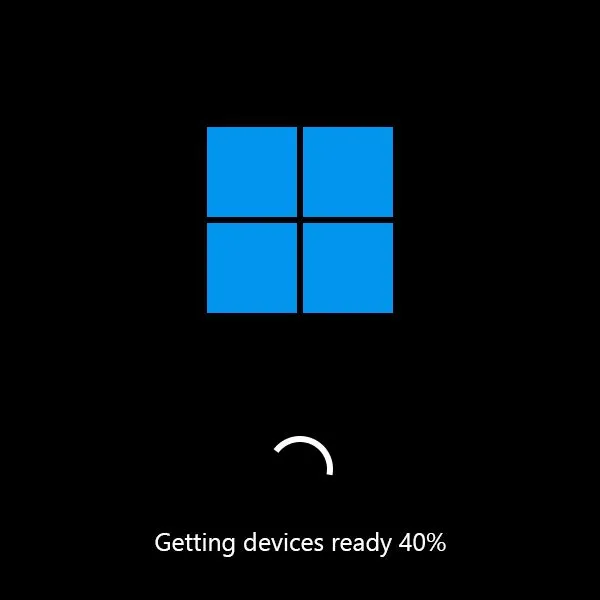
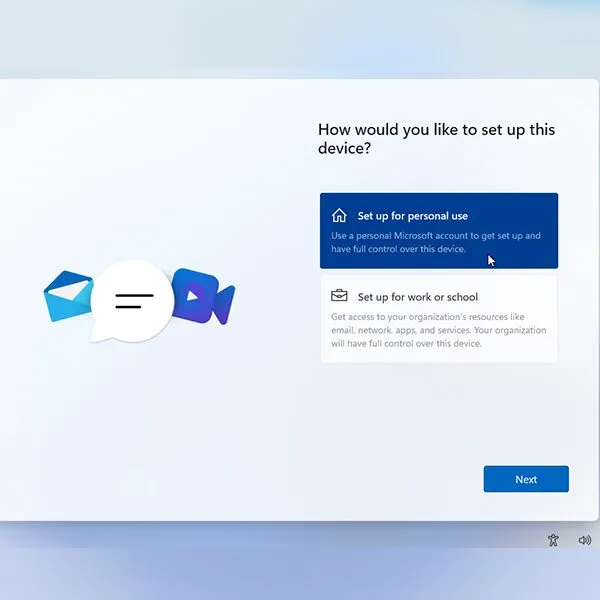
When you first power on your PC, you will need to follow on-screen instructions to set up your operating system. This includes setting your preferred language, configuring your time zone, and establishing a network connection.
Additional settings may need to be configured based on personal preferences and specific software requirements. Depending on your hardware, you may be able to use Signal RGB to customize your RGB lights settings Check out our setup guide to Signal RGB! |
|
Congratulations on Your New Skytech Gaming Desktop PC!
|
|
Download Starting Guides For Our Legacy PCs Below. Archangel Archangel Elite Archangel II Archangel 3.0 Blaze Blaze II Blaze II S Dark Angel Legacy Legacy II Legacy Mini Legacy Mini X Legacy 3.0 Omega Omega Mini Omega S Oracle X Rampage Shadow Shadow 3.0 Shiva Venus Chronos Chronos Mini Oracle (2019) Prism Siege Mini Supremacy
|
