
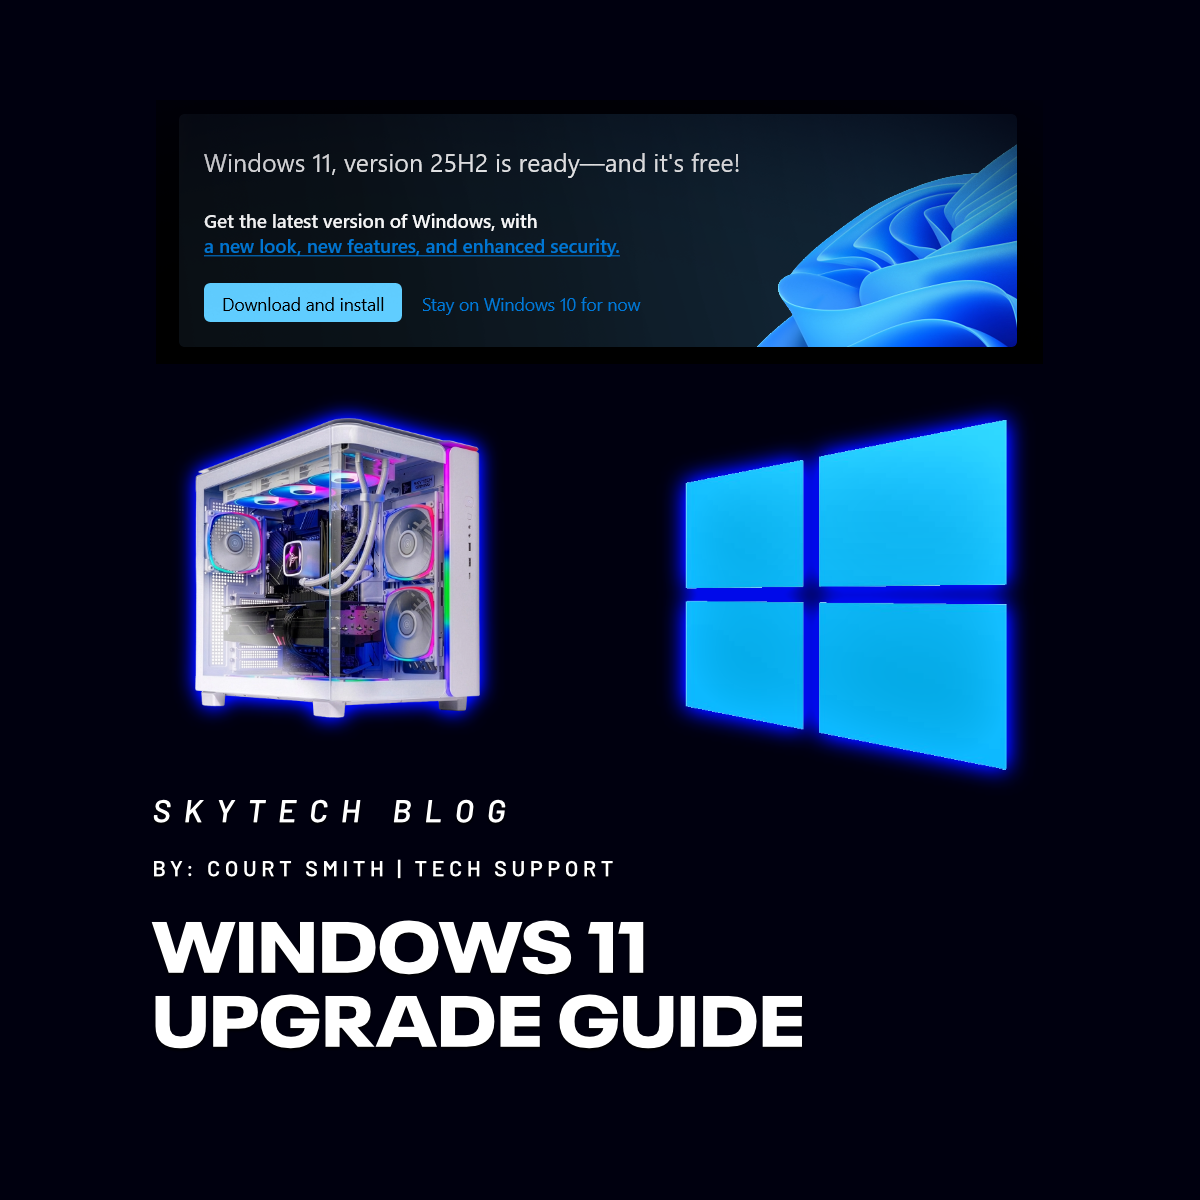
Support for Windows 10 from Microsoft ended October 14, 2025. This is for those of you who are still hanging on to Windows 10: It’s time to move on.
You may have seen notifications about this on your PC, and wondered what you can do about it.
Move on from Windows 10 by upgrading your system to Windows 11 for free. We’ll teach you how in this guide.
Check Windows Updates Settings
First check the Windows Update section of your Settings. Windows will tell you here whether your system is already prepared for a Windows 11 upgrade, or if it is not.
If you see here that your PC does meet all the requirements, simply run the upgrade here, and it will start installing Windows 11 on your PC. Let the installation complete.

If Windows Update tells you instead that your PC does NOT meet the requirements for Windows 11, you will need to make some changes to your PC, which the rest of our guide can help with.
PC Health Check Tool
If your PC is not ready, use the Windows PC Health Check tool to help you find out which changes you need to make to your PC.
- Download the Windows PC Health Check Tool from Microsoft.
- Install the tool and run it.
- Click “check now” at the top to scan your PC.

Prepare Your PC for Windows 11
The rest of this guide will help walk you through the changes you may need to make.
In order to prepare your PC for Windows 11 installation, you’ll need to make sure:
- Your PC’s drive partition style is GPT.
- TPM is enabled in BIOS.
- Secure Boot is enabled in BIOS.
You can skip to the section of this guide relevant to the step you need to complete as indicated in the PC Health checker.
Step One: Make sure your drive’s partition style is GPT.
Check the partition style (MBR or GPT) of your PC’s drive:
- Press your Windows key to open your Windows start menu search bar and search for Disk Management.
- Open the Create and format hard drive partitions application.
- Right click the drive Windows 10 is installed on
- It will be a little square that says “disk” and a number, about midway down the “disk management” window, with some blue horizontal bars next to it.
- The disk Windows is installed on should have the C: partition for the OS inside if by default.
- Select the Properties option.

- Click on the Volumes tab in the Properties window.
- In this tab, next to partition style, you should see either Master Boot Record (MBR) or GUID Partition Table (GPT).

If you see GUID Partition Table (GPT) here, you don’t need to proceed with the rest of the steps to convert your drive from MBR to GPT. You can exit the window and move to step two to enable TPM.
If you see Master Boot Record (MBR) here, you will need to convert your drive to a GUID Partition Table (GPT) style if possible. Continue with the rest of the steps in this section.
Before converting your drive from MBR to GPT:
- Please make sure the drive Windows 10 is installed on that you are converting has only three partitions or less in disk management, or the conversion will fail.
- Please also update your Windows 10 Home OS to the latest version. Windows 10 version 1809 or later is recommended for this operation.
- If you use BitLocker Encryption, please suspend the encryption before proceeding. Otherwise, after some steps, the PC will ask you to enter your Bitlocker Recovery key. If you need your Bitlocker recovery key, you can find it by logging into your microsoft account at this link.
- Please back your data up from the drive you are converting as well! Converting a drive from MBR to GPT comes with a chance for data loss.
Convert your drive from MBR to GPT:
- Press your windows key to open the start menu search bar. Search for Settings.
- Open the Settings application that shows up in search.
- Click on Update & Security, then click on Recovery.
- Under the Advanced startup section, click the Restart now button.
- After your PC restarts and is in the recovery environment, click Troubleshoot.
- Click Advanced options, then click Command Prompt.
- Select your administrator account and sign in.
- Type the following command to validate that your drive meets the requirements, then press Enter: mbr2gpt /validate
- If validation completes successfully, then type the next command and press enter to convert: mbr2gpt /convert then let this process complete.
- After the process is complete, click the close button in the top right corner, and then click Turn off your PC.
- Once you start your PC again, your drive should now be in GPT partition style. You can check Disk Management again to confirm.
Troubleshooting:
- If the drive conversion command fails, first double-check that you spelled everything correctly, and if you didn’t, try the command again.
- If that doesn’t work, check these things:
- More than 3 primary partitions. Delete partitions in Disk Management if necessary after backing up any data in them you want to save.
- Lack of unallocated space. The command needs some unallocated space to exist on the drive to create a new partition as part of the process. Try shrinking a partition in disk management. 2 GB should do the trick.
- Open Disk Management again
- Right a partition on the drive you are trying to convert. Use one that is not the Recovery Partition.
- Click Shrink Volume.
- In the box to enter the amount of space to shrink in MB, enter 2000 MB, then click Shrink.

- If that doesn’t fix it, and you have a Skytech Gaming PC, please take a picture of any error codes you see and contact support for more help.
Step Two: Enable TPM in BIOS.
You may also need to enable a setting called TPM. To enable TPM we will need to access the BIOS on the PC.
Get into BIOS:
- Restart your PC.
- As your PC starts up, repeatedly press Del (Delete) or the appropriate key to enter your BIOS.
- Del is a common one, but sometimes it will be another key. It should tell you on the monitor which button you can press to enter BIOS as your PC is booting up, on your motherboard splash screen.
- Keep pressing the whole time the PC is trying to boot up.
- If you don’t get it the first time, just try again. The timing can be tricky. Once you know what key it is, start pressing it as soon as you initiate the PC’s startup process.
If you’re having trouble, there is another way to get into BIOS, from the PC’s desktop:
- Open Settings.
- Click Update & Security.
- On the left sidebar menu click Recovery.
- In the Recovery section, under Advanced startup, click Restart now.

- Once the PC restarts, it will be in the recovery environment. Click Troubleshoot.
- Click Advanced options.
- Click UEFI Firmware settings. Here, you can restart your PC to enter BIOS.
Find the TPM setting in BIOS and enable:
- TPM settings will be located in different BIOS menu locations depending on the manufacturer of the motherboard.
- Many will be under CPU settings, or Advanced settings, and some will be located under Settings->Miscellaneous.
- In these menus, check for Trusted Computing or TPM Configuration sections, then click to find TPM settings.
- The setting on AMD PCs may be called AMD CPU fTPM, fTPM, TPM, or AMD fTPM.
- For most Intel PCs, the TPM option may be called TPM, fTPM, PTT or “Platform Trust Technology”.
- Many will be under CPU settings, or Advanced settings, and some will be located under Settings->Miscellaneous.
- Once you find it, enable it. Then make sure you save your changes and exit.

Troubleshooting:
- If you’re having trouble finding TPM, you can check the manual of your motherboard to look for info about navigating its BIOS:
- Find the manufacturer and model in the System Information application next to Baseboard Manufacturer and Baseboard Product.
- Search these in a web browser to find the product page.
- You should find the manual in the support section for the board on this page.

- If you still can't find TPM, you may need to update your BIOS.
- If you did enable it in BIOS, but the PC Health Check tool does not register it, you may also need to update your BIOS. Some BIOS versions update the TPM version.
- If you updated BIOS and enabled TPM, but it’s still not registered by Windows, try clearing TPM.
- Get into BIOS again and navigate to Trusted Computing or TPM Configuration, where your TPM settings are.
- Click the option to clear TPM (or Intel PTT/AMD fTPM) here.
- If you encounter the Bitlocker Recovery screen after enabling TPM, clearing TPM, or updating BIOS, find your recovery key by logging into your Microsoft account at this link.
Step Three: Enable Secure Boot in BIOS
You’ll also need to enable Secure Boot in your BIOS. If you don’t know how to get into BIOS, scroll back up to the first part of step two (TPM) to learn two methods to do that.
- The Secure Boot settings are commonly found under the Boot menu in BIOS. Sometimes they are in the Security menu in BIOS.
- Once you have located Secure Boot, enable it.
- Boot your PC up to your Windows desktop, and check if Secure Boot is being detected by Windows as enabled in your System Information application. You want to see that it is On here.

Troubleshooting:
- If you’re having trouble finding Secure Boot settings, try checking the motherboard’s manual for info on where to find them.
- Scroll up to the first troubleshooting step for enabling TPM for steps to find the manual.
- If you do not see Secure Boot settings, you most likely have CSM (Compatibility Support Module) enabled.
- Please disable CSM. Once CSM is disabled, the option for Secure Boot should show in the boot menu.
- CSM settings are typically also found in the boot menu.

-
- If you don’t see Secure Boot after disabling CSM, try saving your changes and exiting BIOS, then restart your PC and enter BIOS again, and check your boot menu for Secure Boot.
- If you still do not see it, try updating your BIOS.
- If Secure Boot isn’t detected as On in System Information after you enabled it in BIOS, you may need to restore your Secure Boot keys:
- Get back to BIOS, and go to Secure Boot settings again.
- You should see an option to restore default keys, restore factory keys, or something similar. Click this and proceed.
- If you don’t see this option, try changing your Secure Boot mode from Standard to Custom. You can reverse it after restoring keys.
- If it’s still not detected after that, try updating the BIOS, then restore the keys again. Some BIOS versions update the Secure Boot keys.

- If your PC is not booting to Windows after enabling secure boot, try disabling it and go back to step one. The drive is most likely still partitioned in MBR style and will not boot to Windows with secure boot enabled until it is converted to GPT.
- If you encounter the Bitlocker Recovery screen after enabling Secure Boot, restoring Secure Boot keys, or updating BIOS, find your recovery key by logging into your Microsoft account at this link.
Step Four: Upgrade to Windows 11
After completing the steps above, your PC should be ready to upgrade to Windows 11.
- Check the Windows Updates section of your Settings, and now you should see the option to upgrade to Windows 11 here.
- If you do not see that in your settings, try using the PC Health Check tool.

- Still having trouble? If you have ensured Windows is detecting Secure Boot and TPM as enabled, try the Windows 11 Installation Assistant.
- Download it, then just run the application and agree to the terms.
- The program will go through the steps of downloading the install media, verifying the download, then installing Windows 11 on your PC.
- Once the process is finished the tool will start a 30 minute timer before it restarts the PC to finalize the installation.
- You can choose to bypass the timer and just restart.
- After the PC restarts and finalizes the installation your PC will now be running on Windows 11.
If you are trying to upgrade a Skytech Gaming PC to Windows 11 and you’d like more guidance or you’re having trouble with one of the steps, contact our support team. We’ll be happy to guide you through these steps. Please have an empty flash drive ready when you contact us in case you need to update BIOS.
We hope you enjoy your update to Windows 11 on your PC!