- Prebuilt Gaming PCs
- Best SellersIntelAMD RyzenClearanceAll ModelsBest SellersIntel
-
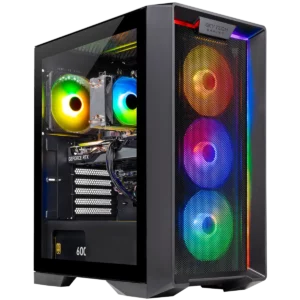
↓ 4%
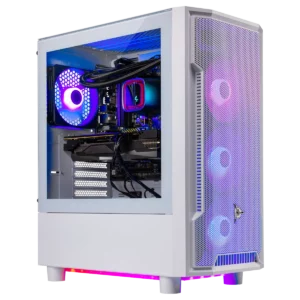
BEST
Intel i5 12400F
Nvidia RTX 4060 Ti 8GB
1TB NVME
B660 DDR4
16GB DDR4 3200MHZ
Windows 11 Home
600W GOLD Power Supply
802.11 ac
$1,139.99
Was $1,189.99
AMD Ryzen-
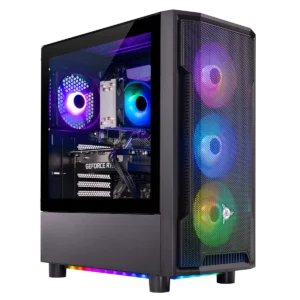
↓ 4%

BEST
AMD Ryzen 7 7700X
AMD Radeon 7600
1TB NVME
B650
32GB DDR5 5200MHZ RGB
Windows 11 Home
600W GOLD Power Supply
802.11 ac
$1,249.99
Was $1,299.99
Clearance-
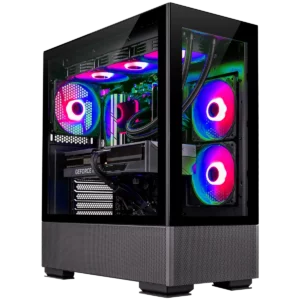
↓ 21%
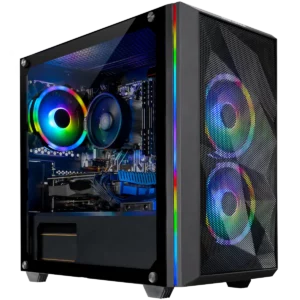
GOOD
Intel i5 12400F
Nvidia RTX 3050
1TB NVME
B660 DDR4
16GB DDR4 3200MHZ
Windows 11 Home
600W GOLD Power Supply
802.11 ac
$699.99
Was $889.99
All Models-
Archangel 4 (16)
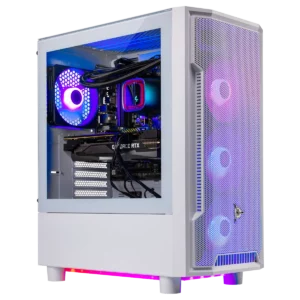
Archangel 4 (16)
-
Azure (7)
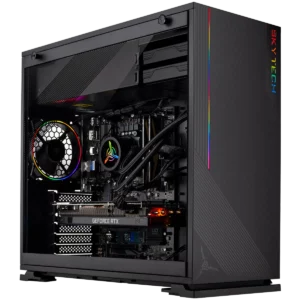
Azure (7)
-
Azure 2 (19)

Azure 2 (19)
-
Blaze 3 (4)
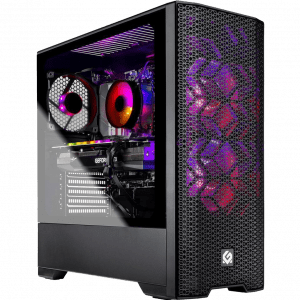
Blaze 3 (4)
-
Blaze 4 (9)
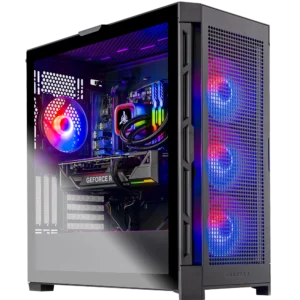
Blaze 4 (9)
-
Blaze 4 Mini (7)
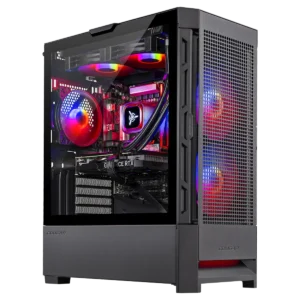
Blaze 4 Mini (7)
-
Chronos (6)
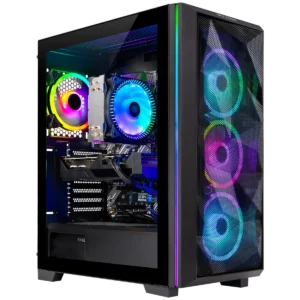
Chronos (6)
-
Chronos 2 (16)
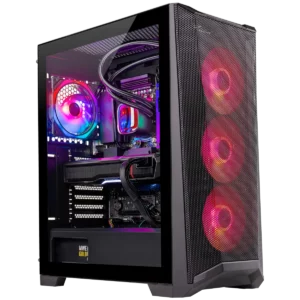
Chronos 2 (16)
-
Chronos Mini (11)

Chronos Mini (11)
-
Eclipse (7)
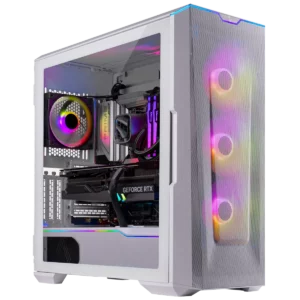
Eclipse (7)
-
Eclipse 2 (5)
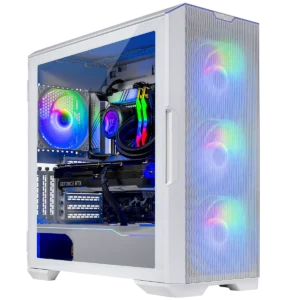
Eclipse 2 (5)
-
Eclipse Lite (8)
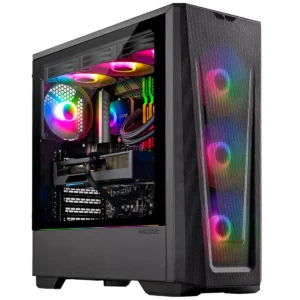
Eclipse Lite (8)
-
Eclipse lite 2 (3)
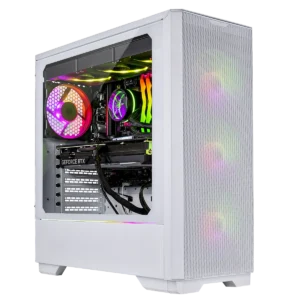
Eclipse lite 2 (3)
-
King95 (7)
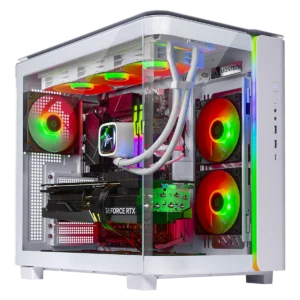
King95 (7)
-
Legacy 4 (4)
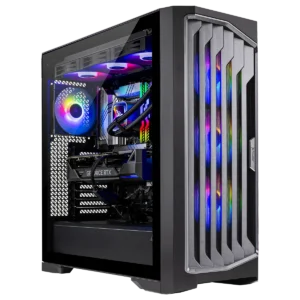
Legacy 4 (4)
-
Mini PCX1 (1)

Mini PCX1 (1)
-
Nebula (5)
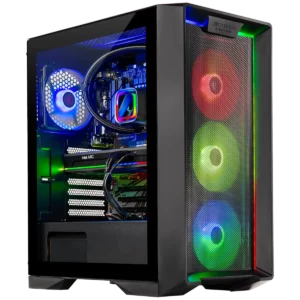
Nebula (5)
-
O11 Dynamic (2)
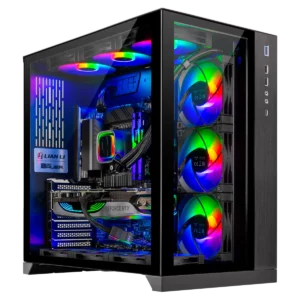
O11 Dynamic (2)
-
O11 Vision (9)
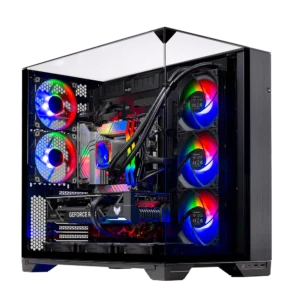
O11 Vision (9)
-
Omega (1)
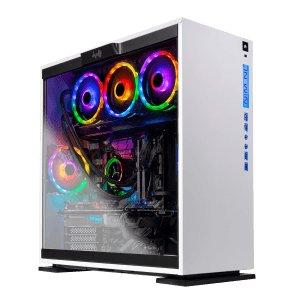
Omega (1)
-
Omega 2 (3)

Omega 2 (3)
-
Prism 3 (11)
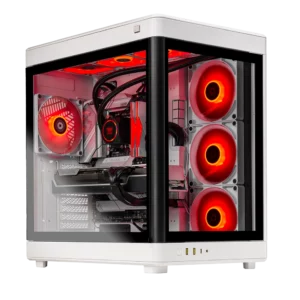
Prism 3 (11)
-
Shadow 3 (2)
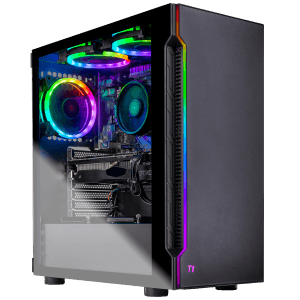
Shadow 3 (2)
-
Shadow 4 (20)
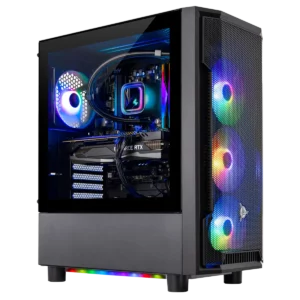
Shadow 4 (20)
-
Shiva (3)
Shiva (3)
-
Shiva 2 (12)
Shiva 2 (12)
-
Siege 4 (5)
Siege 4 (5)
- Custom PC Builder
- Accessories
- Community
- Financing
- Support
- Deals ✨
RGB Control Guide
Choose your RGB System from the options below.
Gamdias RGB Remote Control Settings
- MB: Motherboard sync; uses motherboard settings for RGB
- Not applicable without motherboard RGB configuration
- If you have ASRock Polychrome, ASUS Aura Sync, GIGABYTE RGB Fusion, MSI Mystic Light or Thermaltake RGB PLUS only
- OFF: Turns LEDs off
- Power: Turns LEDs on
- S: Increases/decreases LED speeds
- Auto: Sets the LED settings to default
- M: Cycles through the pre-configured LED modes
- White/Red/Green/Blue: Changes the LED color
- Fans: Increases/decreases fan speeds
- RGB LED Color Cycle Mode
- RGB LED Breathing Pulse Mode
- Brightness: Increases/decreases LED brightness

In order to configure the LED settings, double click on the ASRock Polychrome RGB program.
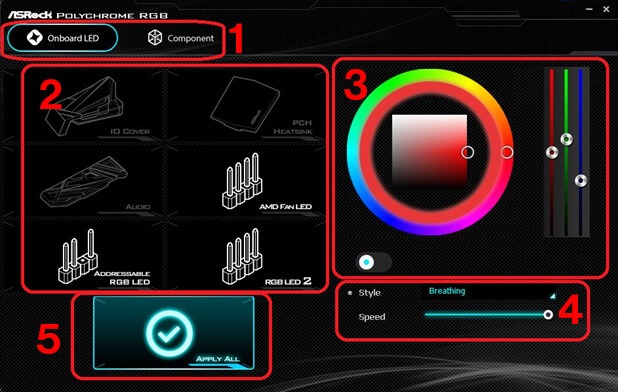
- Select the item you wish to change LED settings on. (Onboard LED on the motherboard or component)
- Select the individual LED/component.
- Drag the tab on the color wheel to change the hue and saturation. You can drag the tab up and down on the RGB sliders to change the individual RGB values instead. Clicking the toggle switch on the bottom right enables or disables the LED.
- Change the style and effect by using the drop-down menus. Slide the speed radio button left and right in order to change the LED speed.
- Click “Apply” when done.

- You can select the link feature below the component’s icon to change which components are linked. Linked components will have their settings matched.
- On/Off: Turns the LEDs on and off.
- You can choose between the LED Sync settings and other settings (ASUS HUE, In-game syncing options)
- To change the lighting modes/effects, select from the left-hand side.
- The LED options such as hue, saturation, effect speed, brightness, etc. may change depending on the lighting mode. You can change the hue by dragging the tab on the color wheel, change the saturation and brightness with the slider, and manually input RGB values as well.
- To confirm your settings, simply click apply when you are done.

- On the left-hand side, you can choose which component to control the lighting for. For compatible motherboards, you are able to select the individual LEDs on the board.
- You can select the LED lighting mode/effect using the icons in the middle of the screen.
- On the right side of the screen will be different options for each lighting mode. Depending on the mode, you will be able to change the color, brightness, speed and more. You can change the hue by dragging the tab on the color circle, select from a range of preset colors, manually input RGB values, and change the effect speed and brightness with the sliders.
You can click on the drop-down profile menu to add a profile as well as select any previously saved profiles. To confirm your settings, simply click apply when you are done.

- You can click on the component on the top of the screen to control what settings it has.
- You can select the link feature below the component’s icon to change which components are linked.
- Linked components will have their settings matched.
- You can link all the components by clicking the link icon at right.
- To change the lighting modes/effects, select on the left side.
- You can change the hue and saturation at the left most side. The options may change depending on the lighting mode. You can change the hue by dragging the tab on the color wheel, change the saturation with the slider, and manually input RGB values as well.
- To save your settings in a profile for later use, you can click “New”. You can edit the name of the profile, save settings to the profile, apply the profile setting or delete the profile from the profile control panel.
- To confirm your settings, simply click apply when you are done.

To cycle through the RGB modes, press the LED light button on the top of the PC next to the power button.
- To Cycle LED Light Mode: Press LED light button briefly:
- To Turn off LEDs: Press LED light button and hold for >1.5 seconds
* For non-motherboard RGB setup (If you do not have ASRock Polychrome, ASUS Aura Sync, GIGABYTE RGB Fusion, MSI Mystic Light or Thermaltake RGB PLUS)
* For systems with an on-motherboard RGB option (ASRock, ASUS, GIGABYTE, etc)

- To enable or disable a component, you can click the green or red icon next to the fan’s name.
- You can change the fan speed by selecting Performance, Silent or PWM modes or by dragging the tab left and right on the sliders.
- On the left, you can change the LED light effect, color mode as well as the speed of the effect.
- By clicking “Color”, you can specify the exact color values. You can select which individual LED on the fan to configure, as well as the color of that LED by clicking the numbered circle icons. By clicking the light bulb, you can turn the LED lighting on and off. You can change the LED brightness using the slider on the bottom.
To configure another device, click on another rectangular panel to select it.
When finished, just click “Done”.
You can save your configuration with the button on the upper right, as well as select different profiles that you may want to save it to.

