- Prebuilt Gaming PCs
- Best SellersIntelAMD RyzenClearanceAll ModelsBest Sellers
-
↓ 6%
 BEST
BEST
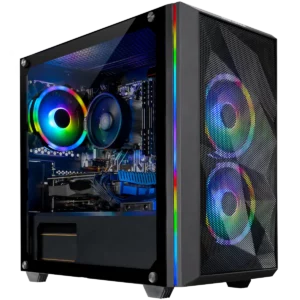
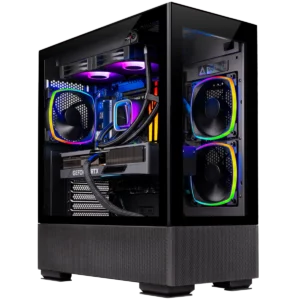
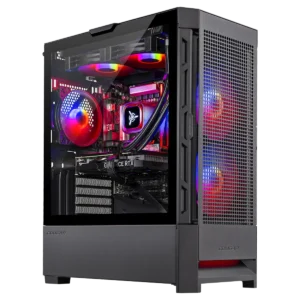
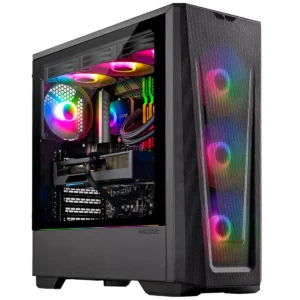
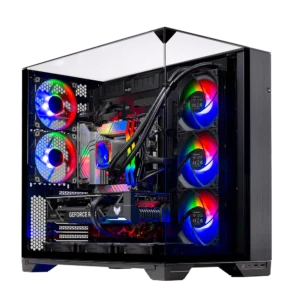
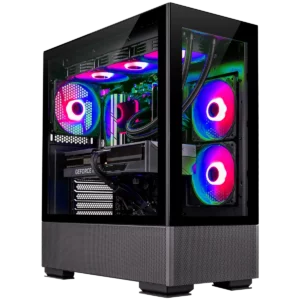
AMD Ryzen 7 7700X
AMD Radeon 7600
1TB NVME
B650
32GB DDR5 5200MHZ RGB
Windows 11 Home
600W GOLD Power Supply
802.11 ac
$1,259.99
Was $1,339.99 -
BEST
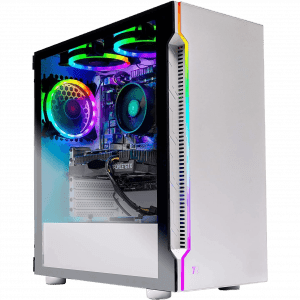
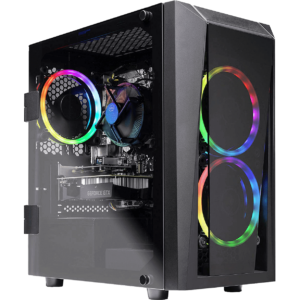
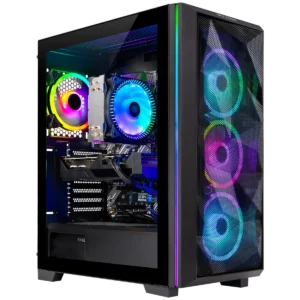
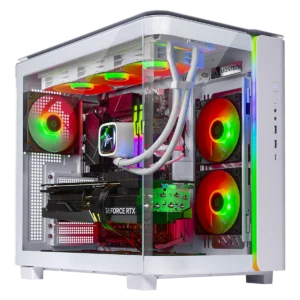
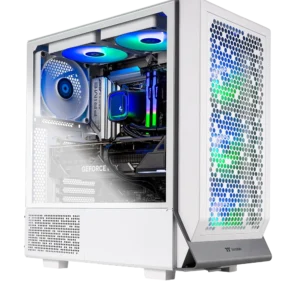
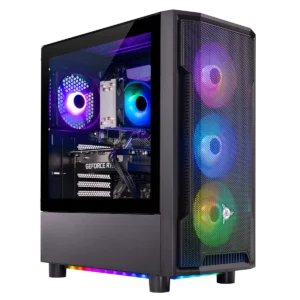
Intel i5 12400F
Nvidia RTX 4060 Ti 8GB
1TB NVME
B660 DDR4
16GB DDR4 3200MHZ
Windows 11 Home
600W GOLD Power Supply
802.11 ac
$1,149.99
Intel-
BEST
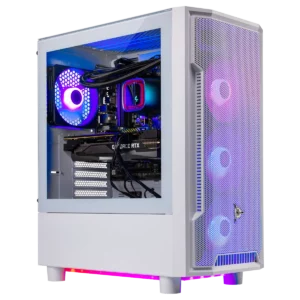
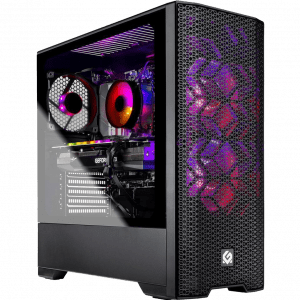
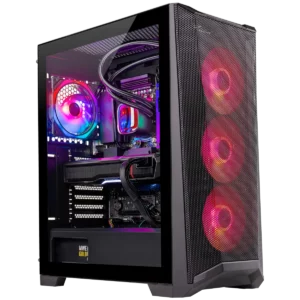
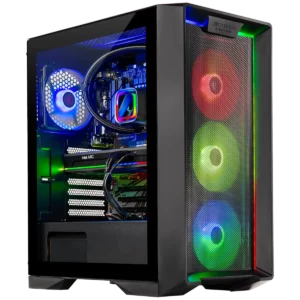
Intel i5 12400F
Nvidia RTX 4060 Ti 8GB
1TB NVME
B660 DDR4
16GB DDR4 3200MHZ
Windows 11 Home
600W GOLD Power Supply
802.11 ac
$1,149.99
AMD Ryzen-
↓ 6%
BEST
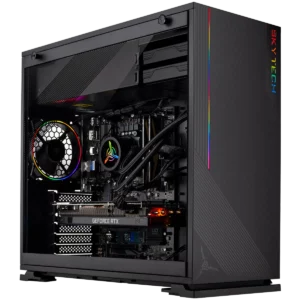
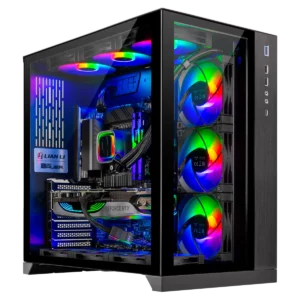
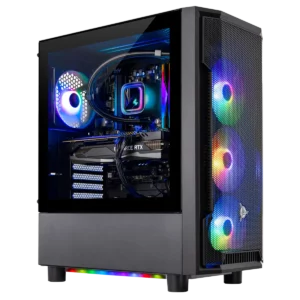
AMD Ryzen 7 7700X
AMD Radeon 7600
1TB NVME
B650
32GB DDR5 5200MHZ RGB
Windows 11 Home
600W GOLD Power Supply
802.11 ac
$1,259.99
Was $1,339.99
Clearance-
↓ 23%
 GOOD
GOOD
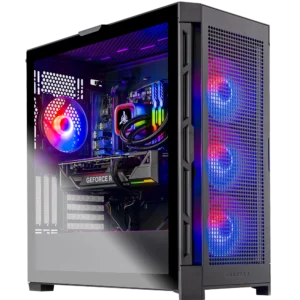
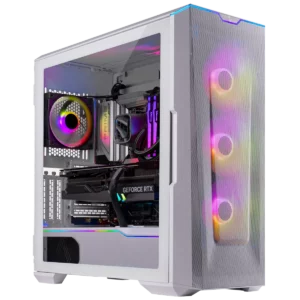
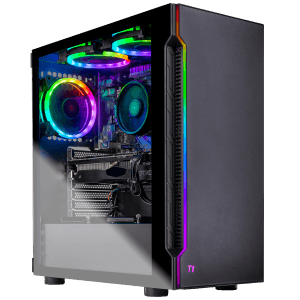
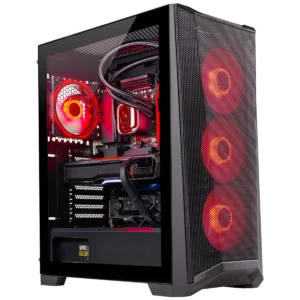
Intel i5 12400F
Nvidia RTX 3050
1TB NVME
B660 DDR4
16GB DDR4 3200MHZ
Windows 11 Home
600W GOLD Power Supply
802.11 ac
$699.99
Was $909.99
All Models-
Archangel 3 (1)
Archangel 3 (1)
-
Archangel 4 (11)
Archangel 4 (11)
-
Azure (8)
Azure (8)
-
Azure 2 (12)
Azure 2 (12)
-
Blaze 2 (1)
Blaze 2 (1)
-
Blaze 3 (5)
Blaze 3 (5)
-
Blaze 4 (4)
Blaze 4 (4)
-
Blaze 4 Mini (2)
Blaze 4 Mini (2)
-
Chronos (6)
Chronos (6)
-
Chronos 2 (9)
Chronos 2 (9)
-
Chronos Mini (6)
Chronos Mini (6)
-
Eclipse (13)
Eclipse (13)
-
Eclipse Lite (5)
Eclipse Lite (5)
-
King95 (4)
King95 (4)
-
Nebula (6)
Nebula (6)
-
O11 Dynamic (2)
O11 Dynamic (2)
-
O11 Vision (7)
O11 Vision (7)
-
Omega (1)

Omega (1)
-
Omega 2 (2)
Omega 2 (2)
-
Prism 3 (8)

Prism 3 (8)
-
Shadow 3 (3)
Shadow 3 (3)
-
Shadow 4 (9)
Shadow 4 (9)
-
Shiva (3)
Shiva (3)
-
Shiva 2 (6)
Shiva 2 (6)
-
Siege 4 (6)
Siege 4 (6)
12 Month 0% APR Available!