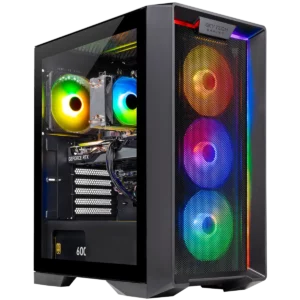
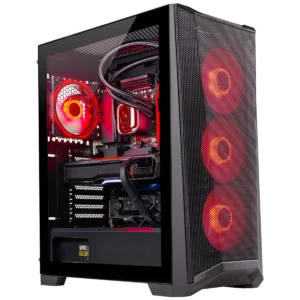
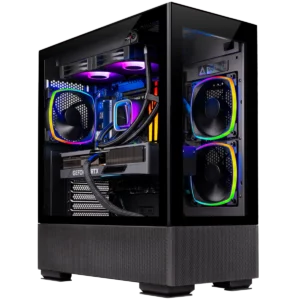
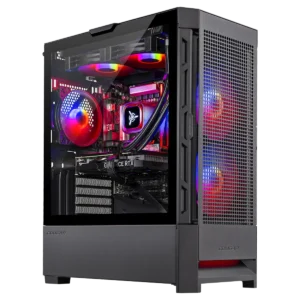
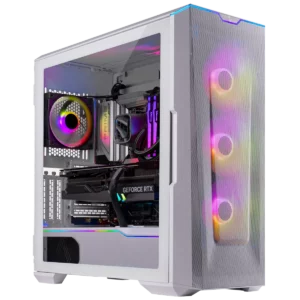
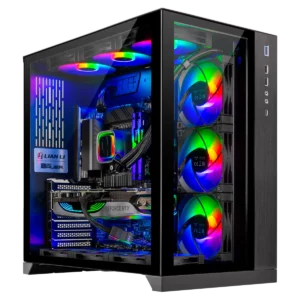
 BEST
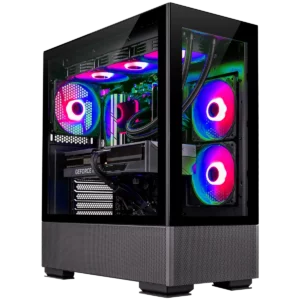
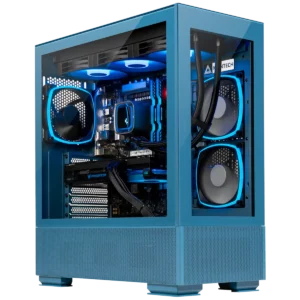
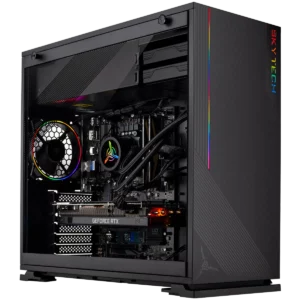
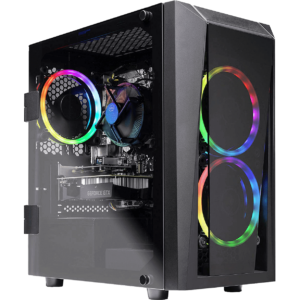
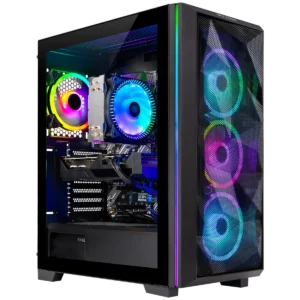
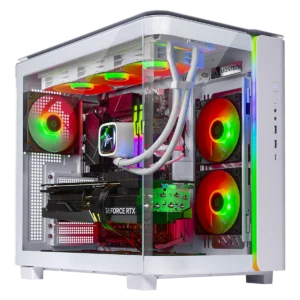
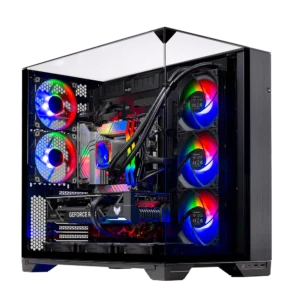
BEST 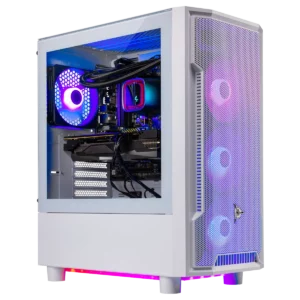
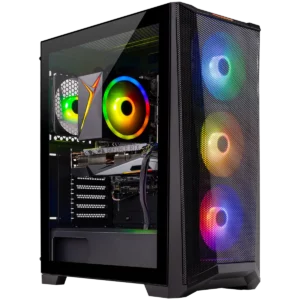
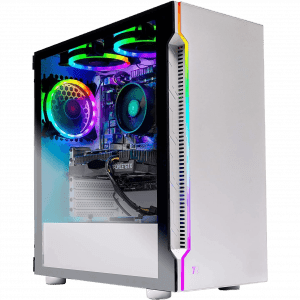
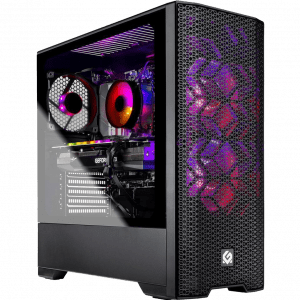
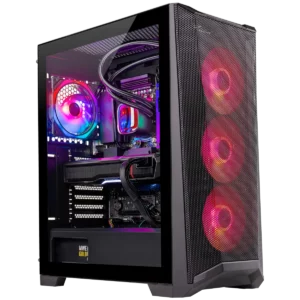
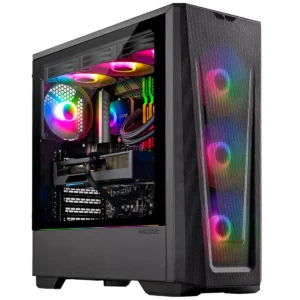
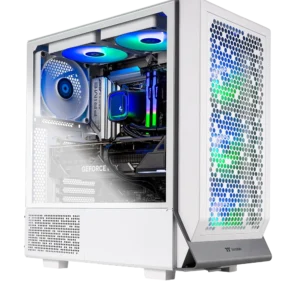
 GOOD
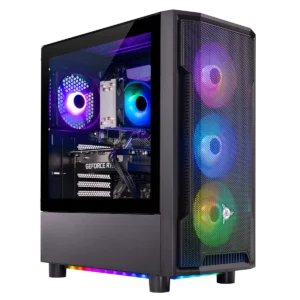
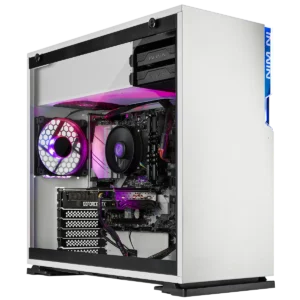
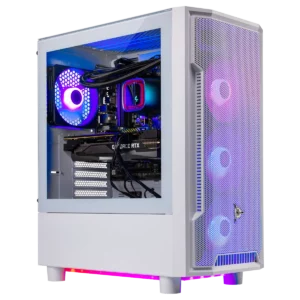
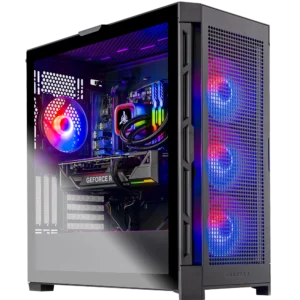
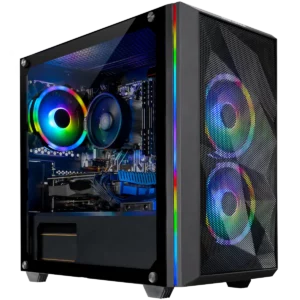
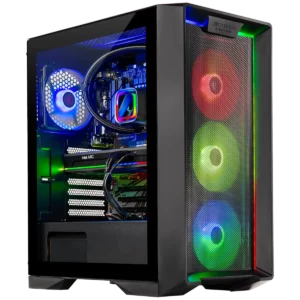
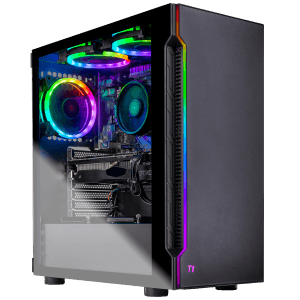
GOOD 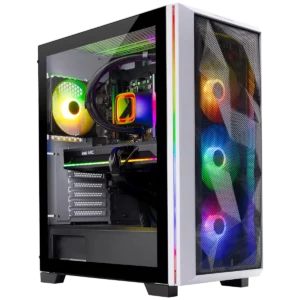


How to Clean Your PC: Spring Cleaning Edition
We’ll delve into the nitty-gritty of how to clean your PC setup!
Spring has sprung and it’s time to do some cleaning – not just for your home, but also for your PC setup! With constant usage and exposure, our computers can easily become cluttered with dust, debris, and even viruses and malware that can harm our system’s performance.
We’ll cover the importance of dusting to clean your PC internally, how to keep your computer virus and malware-free, as well as cleaning your monitor and keyboard. Maintaining a clean and organized workspace isn’t just aesthetically pleasing – it can also boost the lifespan of your equipment. Whether you’re a gamer, a professional, or just someone who uses their computer regularly, the tips and tricks in this blog will help you clean your PC and setup.
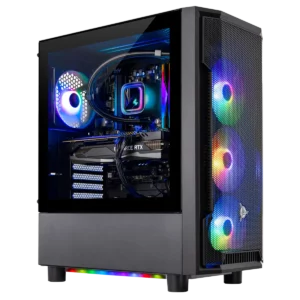
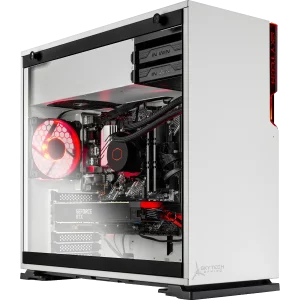
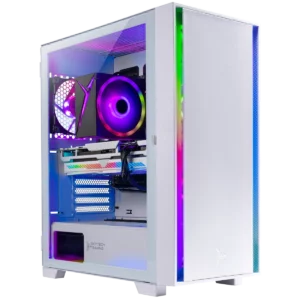
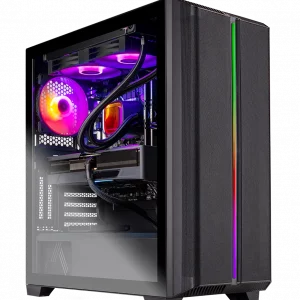
Clean your PC – Physical Cleaning
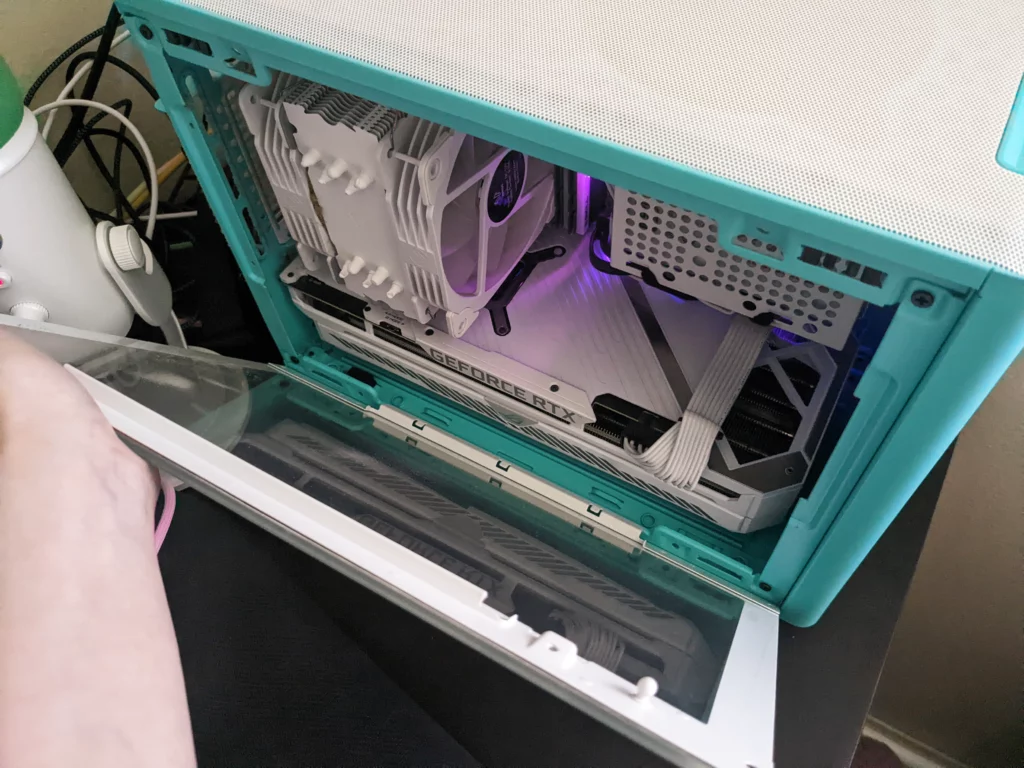
We recommend you clean your PC out to remove dust and debris as a part of routine maintenance, every once in a while. Maybe once every three months, or once every month if you happen to have furry pets who shed. Excess dust inside a PC can impede its cooling capabilities and get trapped in fan bearings, which interferes with their function. Fans may run louder than usual or not spin as well when dust is trapped in their bearings.
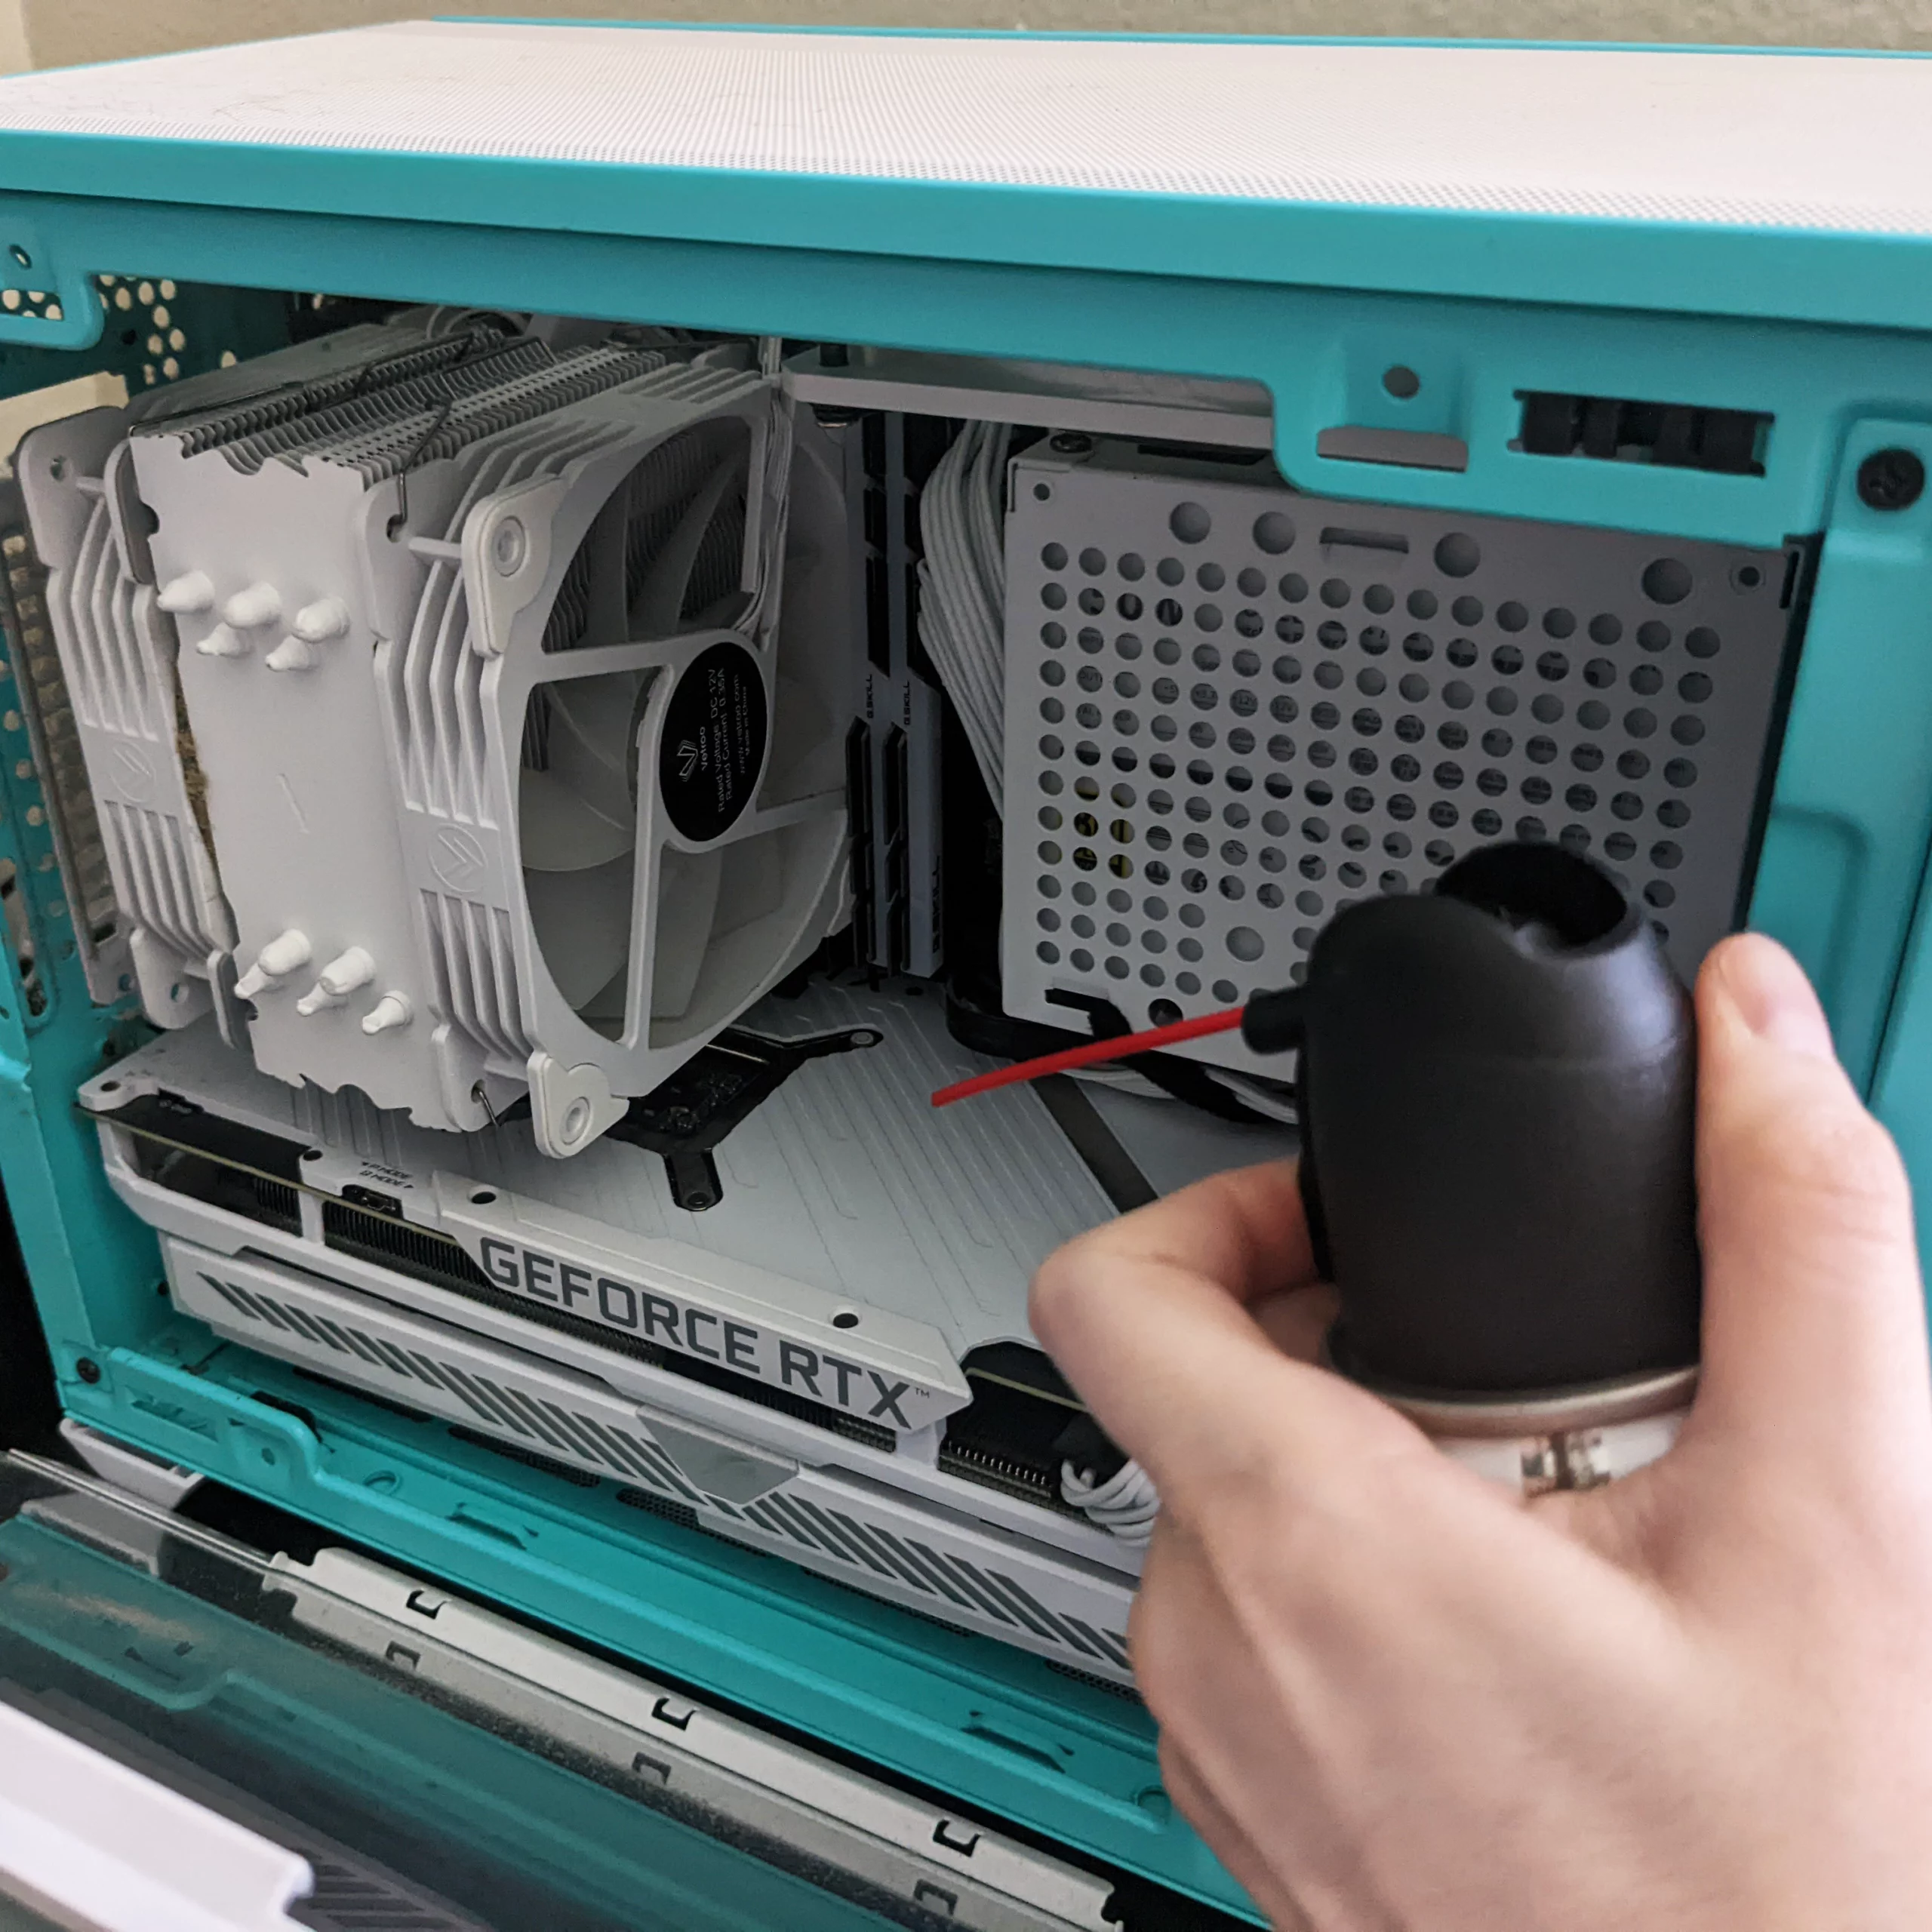
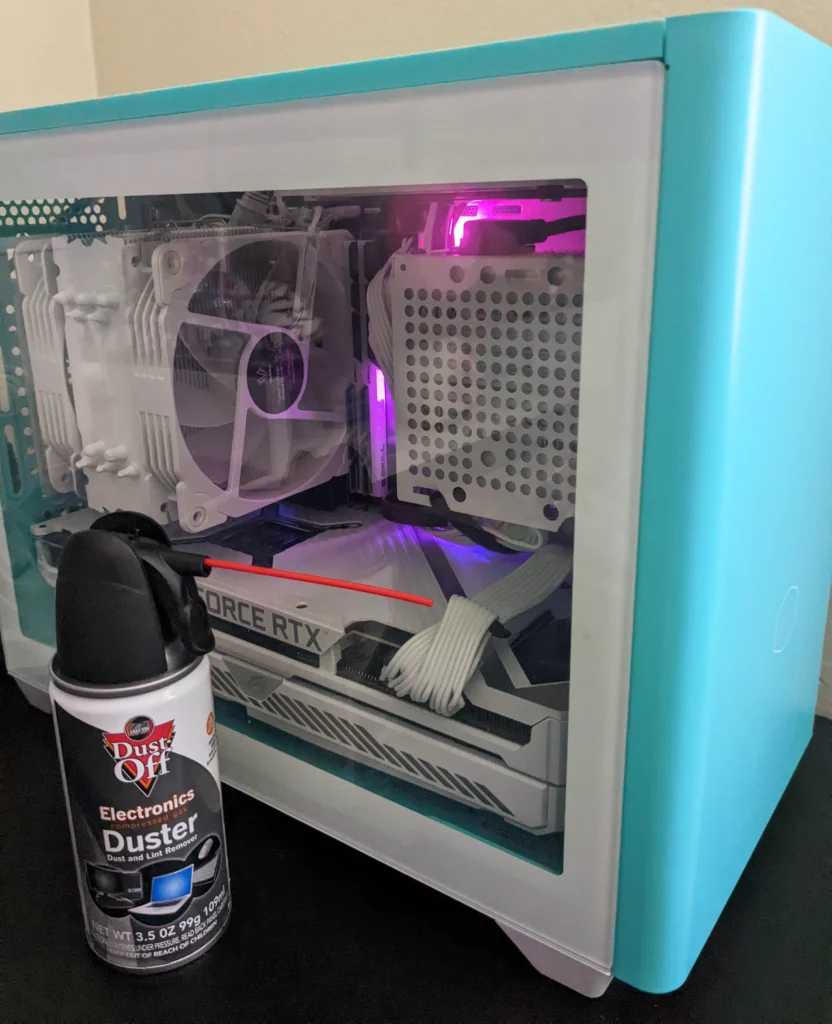
For cleaning dust and debris out of the inside of your PC, we recommend using a can of compressed air or a Datavac to blow the dust out. Please make sure your PC is turned off and unplugged before you open it up and while you clean your PC to avoid the risk of static damaging your PC’s components. We’d also recommend doing it somewhere where it is easy to clean up any dust that is blown out of your PC, like somewhere with a hard floor. Try to blow the dust and debris away from your components and outside of the PC, not further inside of it.
You can get compressed air from Amazon or an office supply store. Compressed air is a really common tool used to clean dust out of PCs. Be careful not to spray yourself with it. The air that comes out of the can is highly pressurized. When you spray it directly at something, the dust kind of gets blown away in all directions. You can angle it a little to blow the dust off in a certain direction.
The can will have instructions on it, and it’s pretty easy to use. You can get pretty close to the components with the start of the stream of it if you wish. Sometimes, it will come out as a liquid (it’s not water), but this liquid evaporates nearly immediately and won’t damage your components. It’ll look white and feel very cold. By the way, for your safety, please be careful not to point the can towards your eyes and spray! Also, please do not shake the can.
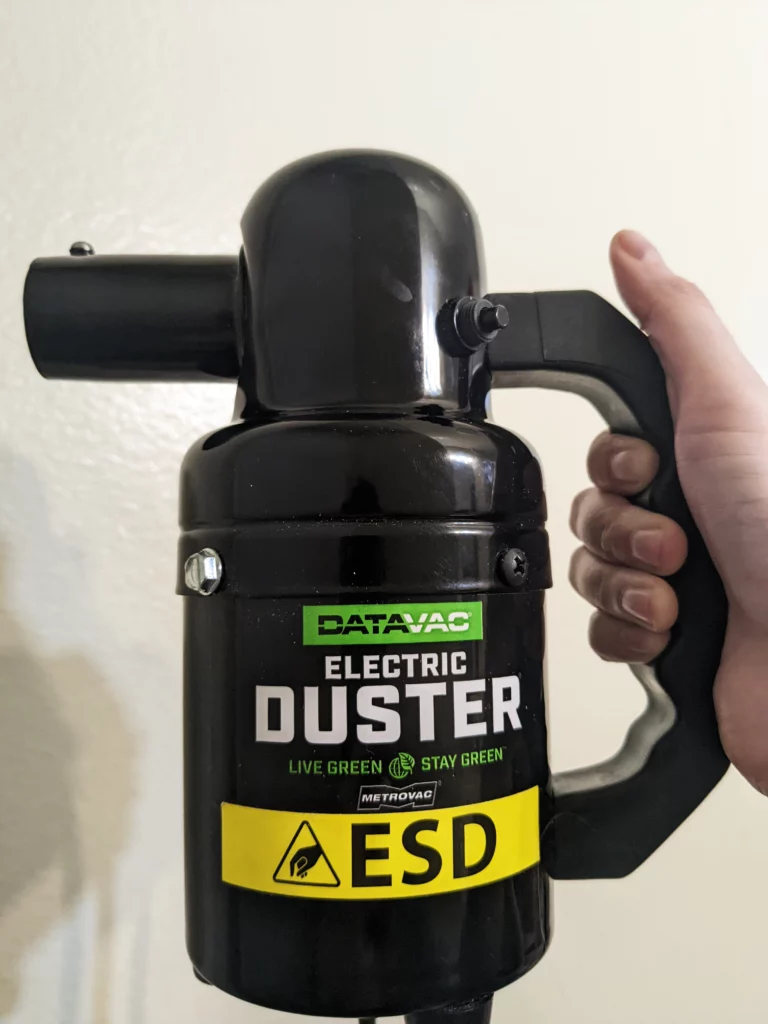
A Datavac is another great option to clean your PC. It’s a reusable device that can blow air into your PC to remove dust. These tools are specifically designed for this purpose, and we prefer and recommend them over compressed air. Though of course, some cleaning with compressed air is better than none! If you choose to get a Datavac to use to clean your PC, please also refer to its manual for proper usage instructions.
While your PC is already open for dusting is also a good time to check for and remove any existing pest infestations if necessary. We also recommend trying to keep the area around your PC free of things that would attract bugs if you can, as bugs can sometimes crawl into PCs and leave droppings or die among components and this can sometimes even cause those components to experience failure. Keeping your PC and the area around it clean will help reduce the likelihood of a PC pest infestation.
Clean your PC – Digital Cleaning
It’s also important to keep your PC digitally clean as well by avoiding and removing any viruses that may potentially cause issues in function. We recommend using Malwarebytes free edition as a malware scanner, and avast! free edition antivirus as a virus scanner. To be more thorough, it would be a good idea to disconnect from your internet while you do the scans. Some malware and viruses can reinstall themselves while they are being deleted by a protective program if a PC is still connected to the internet.
Another way to scan your system most thoroughly is to run these scans while your PC is booted into safe mode with no networking access. If you’d like to boot into safe mode to run those scans more thoroughly, here and some instructions for how to do so:
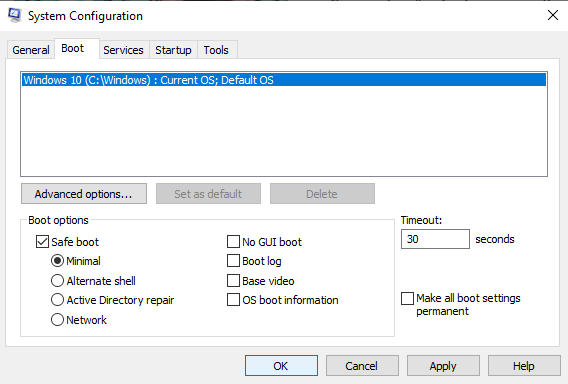
Please open your Windows start menu search bar and type in “msconfig”. Open the “system configuration” windows application that shows up in this search. Navigate to the “boot” tab. Under “boot options”, check the box that says “safe boot” next to it. Keep it on “minimal”, which should be selected as default. Click “apply” and “okay”. When your Pc starts next, it will be in safe mode with no networking. After you run the scans, you can reverse this process to boot your PC back up normally, by again opening this application to the boot tab, and unchecking “safe boot”, then clicking “apply” and “okay”.
We also recommend running some simple debugging command prompts every so often to help prevent Windows OS corruption-related issues. Here are instructions for running those command prompts, if you’re interested in trying it:
Please open your Windows start menu search bar, and type “CMD”. Please right click on the “Command Prompt” application that will be found by this search, and select “run as administrator”. Once it opens (it will be a black screen with text), in this black window, please type “sfc /scannow”, and press enter. This is the system file checker, and it checks for corruption within Windows system files, and corrects them as necessary. This can take longer, so please be patient and let it complete.
After this task is complete, please type “DISM /Online /Cleanup-Image /RestoreHealth” and press enter. This verifies the integrity of the Windows image file. Please allow this task to complete as well. This will be faster than the previous command, and should only take a few minutes.
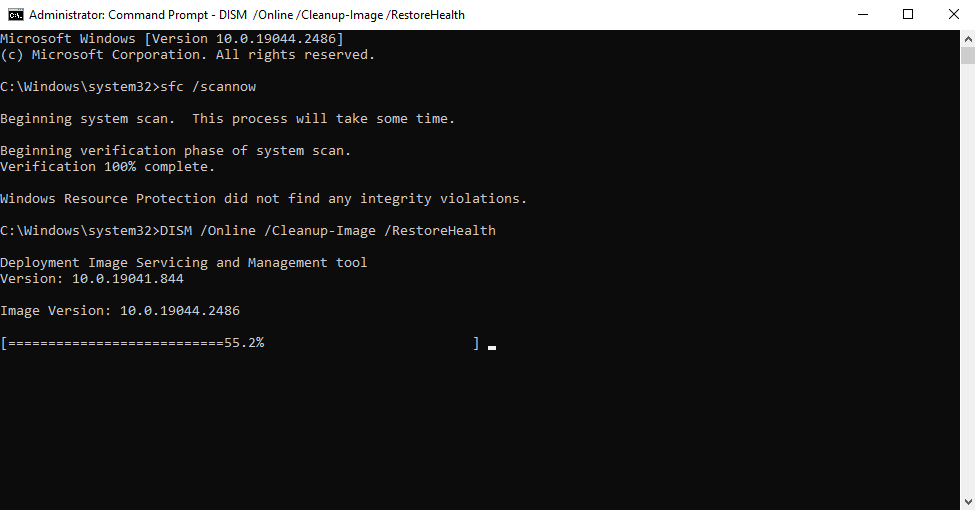
After this is complete, please type “sfc /scannow” again, and press enter. After that completes, please type “DISM /Online /Cleanup-Image /RestoreHealth” again and press enter. After that completes, please once again type in “sfc /scannow” and press enter. After that completes, please type in “sfc /scannow” one more time, and press enter. Please allow this to complete. The reason we ask you to repeat the same step a few times here is due to the nature of how these system utilities work. Thank you for your patience!
Once enough time passes, perhaps at every six month or one year mark, we also recommend doing a clean Windows reinstall via USB installation media on your system. Again, the reason we recommend this is to help prevent Windows OS corruption-related issues. Be careful to back up any files you want to keep before your OS reinstall, as they will be deleted.
Clean your Keyboard
There are a few great methods to clean your PC keyboard, and the ones you will be able to utilize will depend a bit on the tools at your disposal as well as the characteristics of your keyboard.
For any keyboard, you can easily remove dust and debris by taking a vacuum’s hose attachment and running it over the keyboard with the vacuum turned on. For best safety for your keyboard, unplug it from your PC and turn it off if it is wireless. This will allow the vacuum to suck up any dust pretty effectively.
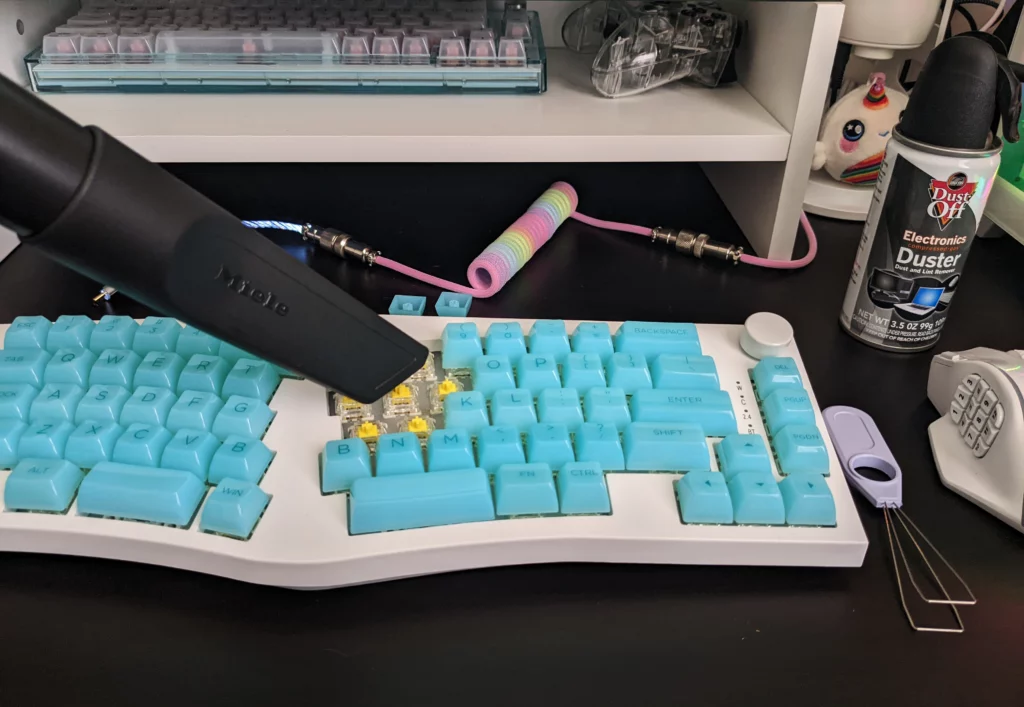
Alternatively, you can also use a Datavac electronics dusting tool to blow the dust out and clean your PC keyboard, or a can of compressed air. If you can remove your keycaps, this will make it easier to remove more dust and debris from under them. You can also use a small brush to carefully sweep out any dust the vacuum or Datavac missed or can’t remove.
Keycaps are made from a variety of different materials. Most common keycap materials (like ABSS and PBT plastics, as well as silicone) are safe to clean in lukewarm water with a bit of hand soap, which is pretty easy and safe to do if they can be removed from your keyboard. Let them dry before you place them back on your keyboard.
If your keycaps cannot be removed from your keyboard, you can unplug your keyboard from your PC and gently wipe your keycaps with a microfiber cloth that is slightly dampened with a mix of water and a gentle household all-purpose cleaner. Apply the cleaning solution mixture to the cloth instead of spraying it directly on the keyboard. Again, for this wipe-down you won’t want the microfiber cloth to be dripping wet, as excess moisture can damage your keyboard’s components. Please let your keyboard dry thoroughly before plugging it in again.
Clean your Monitor
To clean your PC monitor screen, we recommend turning off and unplugging your monitor to reduce static during any further steps, then blasting it with compressed air to remove dust from the surface. If that’s not enough, you can also use a clean microfiber cloth to gently wipe dust off. Please be careful to only use light pressure, as too much pressure can damage the screen. Please use a gentle circular motion to wipe as opposed to scrubbing for the same reason.
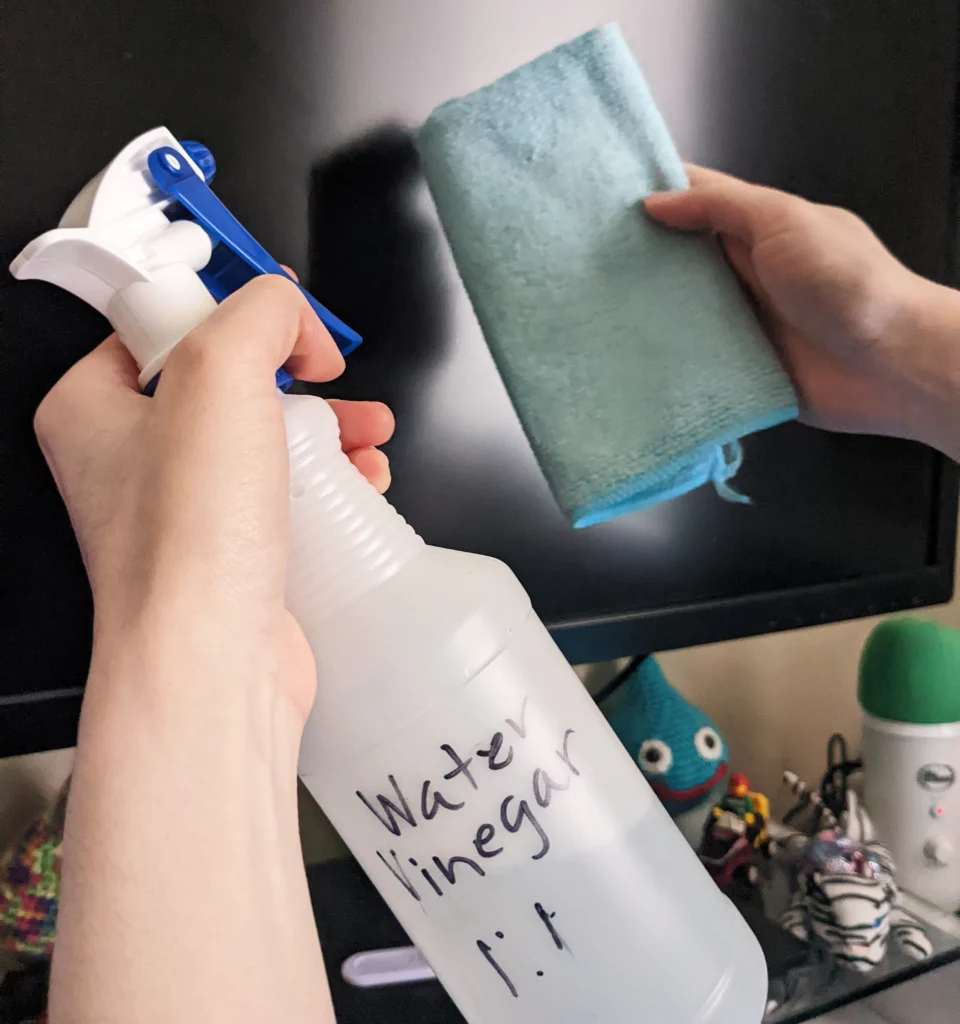
If you’ve still got some stubborn dust and smudges that won’t come out with just a dry microfiber cloth, you can also lightly spray the microfiber cloth with a vinegar solution (a solution of 1 part white vinegar and 1 part water will work for this purpose) before wiping the turned off and unplugged monitor. Please do not soak the microfiber cloth or get it very wet. Only allow it to get a little bit wet with cleaning spray. Please also DO NOT spray cleaning solution directly onto the screen, as this can often lead excess moisture to run down and collect in spots where it could seep into vulnerabilities in the monitor’s housing and damage its components.
Use a second, dry microfiber cloth to gently clean your PC monitor screen of any excess moisture, as excess moisture sitting on the screen or running down it could damage it. If you wash your microfiber cloths in the laundry I recommend using a mesh laundry garment bag that is intended to be washed to protect them in, which also helps to keep them from leaving microplastics behind in the water when washed.
Tell us what you think!
We want to know what our community of gamers and content creators is up to. Let us know on social media how often you clean your PC, peripherals, and setup!
About Skytech Gaming
Skytech Gaming is a system integrator that builds prebuilt and custom PCs for both gaming and creative work. We aim to offer the best experience and performance at every budget, from low-cost entry level machines to the latest bleeding edge, high-end showcase PCs.
If you would like more information about our PCs, please contact Skytech Gaming’s customer support team at (888)370-8882 or [email protected]. Our agents will be happy to do their best to help as soon as they can!